


本模块改编自RaymanNg大佬的风场demo。
加载的.nc文件属于NetCDF version 3数据文件。
本例使用的demo.nc文件分辨率28km,请参考这个网站上的数据 Panoply。
node 环境下使用npm工具安装模块
npm install --save cesium-particle

or

yarn add cesium-particleimport { Particle3D, Vortex } from 'cesium-particle'
import * as Cesium from 'cesium/Cesium';
// cesiumViewer对象
var viewer = new Cesium.Viewer(cesiumContainer, viewerOption);
// 粒子系统配置
var systemOptions = {
particlesTextureSize: Math.ceil(Math.sqrt(64 * 64)),
maxParticles: 64 * 64,
particleHeight: 1000.0,
fadeOpacity: 0.996,
dropRate: 0.003,
dropRateBump: 0.01,
speedFactor: 1.0,
lineWidth: 4.0,
dynamic: true
}
// 粒子颜色色带
var colorTable = [
[0.015686,
0.054902,
0.847059],
[0.125490,
0.313725,
1.000000]
]
// 第一种
// 加载demo.nc文件
var file = File("demo.nc"); // 读取文件
// 从NetCDF3文件生成粒子系统对象
var particleObj = new Particle3D(viewer, {
input: file,
fields: {
lev: 'lev'
}
});
// 加载uv3z.nc、325china.nc或其他自定义文件
var file2 = File("uv3z.nc");
// 需定义字段名
var particleObj2 = new Particle3D(viewer, {
input: file,
fields: {
U: 'water_u',
V: 'water_v'
}
});
// 第二种
// 构建涡旋模型对象
var parameter = [ [120, 30, 100], 5, 5, 2000, 0.1, 0.1, 2000]; // [['lon', 'lat', 'lev'], 'radiusX', 'radiusY', 'height', 'dx', 'dy', 'dz']
var jsonData = new Vortex(...parameter).getData();
// 从json数据生成粒子系统对象
var particleObj2 = new Particle3D(viewer, {
input: jsonData,
type: 'json', // 必填
userInput: systemOptions,
colorTable: colorTable,
colour: 'height' // 颜色变化跟随速度,可选值: 'speed'(defalut) or 'height'
});
particleObj.start(); // 开始运行粒子系统
systemOptions.fadeOpacity = 0.900;
particleObj.optionsChange(systemOptions); // 更新粒子系统配置
particleObj.stop(); // 停止粒子系统
particleObj.remove(); // 移除粒子系统新建一个粒子系统对象,传入的参数包括(ceiusmViewer, {.nc矢量场文件或json对象, 传入的数据类型, nc文件字段规定, 粒子系统配置项, 粒子颜色色带, 上色的属性})
配置属性详解:
| Name | Type | Necessarily | Enumeration | Default |
|---|---|---|---|---|
| input | File / Object | true | ||
| type | String | 'nc' or 'json' | 'nc' | |
| fields | Object | defalutFields | ||
| userInput | Object | defaultParticleSystemOptions | ||
| colorTable | Array | defaultColorTable | ||
| colour | String | 'speed' or 'height' | 'speed' |
默认配置详解:
// 默认的nc文件variables字段
defaultFields = {
  U: 'U', // 横向速度
  V: 'V', // 纵向速度
  W: '', // 垂直速度
  H: '', // 高度属性
  lon: 'lon', // 经度
  lat: 'lat', // 纬度
  lev: '', // 层
}

let maxParticles = 64 * 64 ; // 必须为平方, 否则会报错
let particlesTextureSize = Math.ceil(Math.sqrt(maxParticles));
maxParticles = particlesTextureSize * particlesTextureSize;

// 默认的粒子运行参数
defaultParticleSystemOptions = {
  particlesTextureSize, // 粒子纹理大小
  maxParticles, // 最大粒子数
  particleHeight: 1000.0, // 粒子高度
  fadeOpacity: 0.996, // 拖尾透明度
  dropRate: 0.003, // 粒子重置率
  dropRateBump: 0.01, // 随速度增加的粒子重置率百分比,速度越快越密集,
                      // 最终的粒子重置率particleDropRate = dropRate + dropRateBump * speedNorm;
  speedFactor: 1.0, // 粒子速度
  lineWidth: 4.0, // 线宽
  dynamic: true // 是否动态运行
}

// 默认的颜色配置
// colorTalbe默认为白色,传入的数组为``[[r, g , b], [r, g, b], ...]``格式,对应粒子高度从高到低
defaultColorTable = [[1.0, 1.0, 1.0]]; 粒子系统开始运行,在窗口移动、大小变更、地球缩放、视点相机移动时粒子系统会暂停,停止操作后继续运行
传入粒子系统配置参数,更新粒子运行状态
暂停运行粒子系统
从cesiumview中移除粒子系统
读取NetCDF文件字段,用于加载不同的矢量场文件,参见demo
import { getFileVariables } from 'cesium-particle';

let file = File("uv3z.nc")
getFileVariables(file).then(res => {
  ... // ["water_u", "water_v", "depth", "time", "lat", "lon", "time_run"]
})yarn / npm install
npm run dev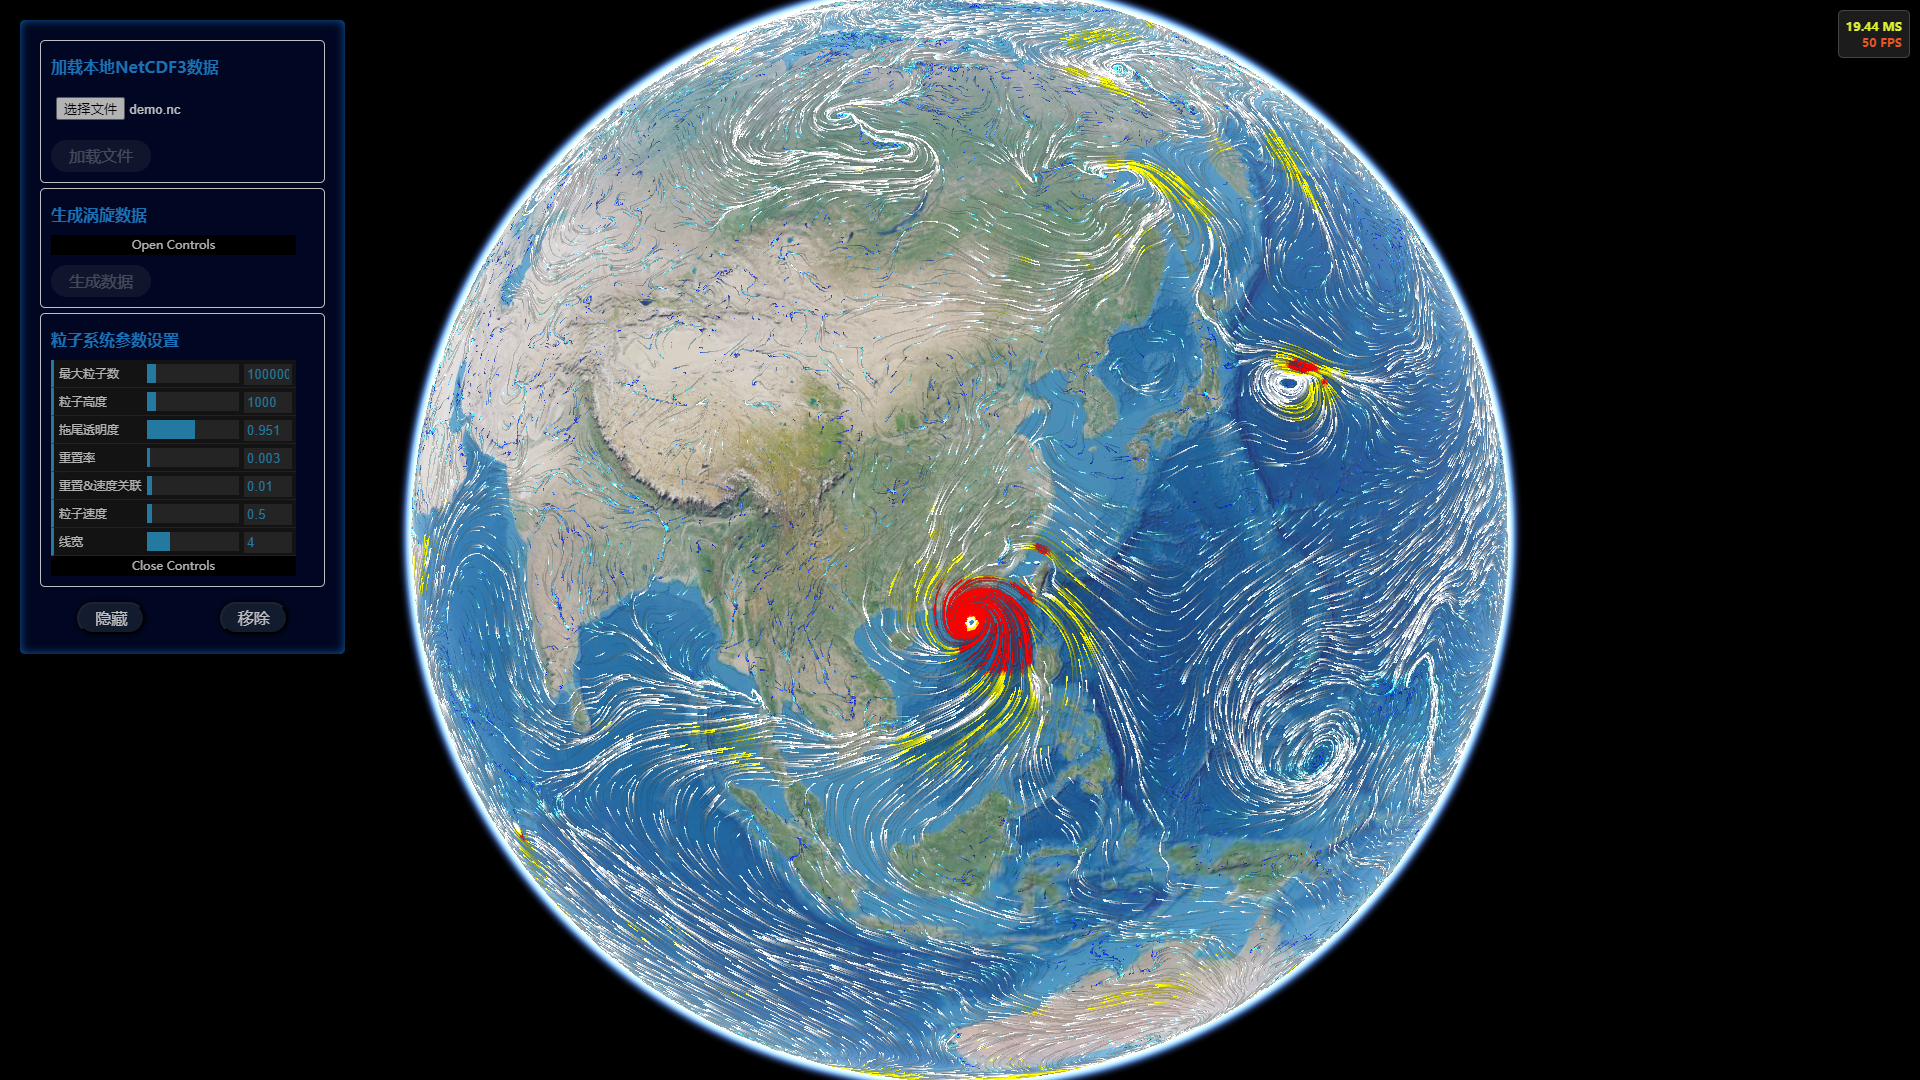 |
 |
|---|---|
 |
 |
在开发环境中调试glsl文件,需要在.src/modules/particlescomputing.js 和 particlesRendering.js 中修改glsl文件入口:
import { CalculateSpeedShader, UpdatePositionShader, PostProcessingPositionShader } from '../../packages/shader';在webpack.config.js中添加glsl-loader
module.exports = {
  module: {
    rules: [
      {
        test: /\.(frag|vert)$/,
        loader: 'webpack-glsl-loader'
      }
    ]
  }
}
或者使用打包命令,打包glsl文件为js:
npm run buld-glsl