This tutorial follows the steps of the Loading a PyTorch Model in C++ tutorial.
PyTorch models are commonly written and trained in Python. The trained model can then be serialized in a Torch Script file. The Torch Script file contains a description of the model architecture as well as trained weights. This file can be loaded from OCaml to run inference for the saved model.
In this tutorial this is illustrated using a ResNet-18 model that has been trained on the ImageNet dataset. We start by loading and serializing the model using the Python api. The resulting model file is later loaded from OCaml and run on some given image.
There are various ways to create the Torch Script as detailed in the original tutorial.
Here we will use tracing. The following python script runs the pre-trained ResNet-18 model on some random image and uses tracing to create the Torch Script file based on this evaluation.
import torch
import torchvision

model = torchvision.models.resnet18(pretrained=True)
model.eval()
example = torch.rand(1, 3, 224, 224)
traced_script_module = torch.jit.trace(model, example)
traced_script_module.save("model.pt")
Note that model.eval() is useful to ensure that the saved model is
in testing mode rather than in training mode. This has an impact on the
batch-norm layers.
The last line creates the model.pt Torch Script file which includes both the model
architecture and the trained weight values.
The model.pt file can then be loaded and executed from OCaml.
Create a load_and_run.ml file with the following content.
open Base
open Torch

let () =
  let model = Module.load "model.pt" in
  let image = Torch_vision.Imagenet.load_image "image.jpg" in
  Module.forward model [ image ]
  |> Tensor.softmax ~dim:(-1)
  |> Torch_vision.Imagenet.Classes.top ~k:5
  |> List.iter ~f:(fun (class_name, p) ->
      Stdio.printf "%s: %%.2f%%\n%!" class_name (100. *. p))
Let us have a closer look at what this code is doing. First
the model is loaded from the model.pt file.
let model = Module.load "model.pt" inThen an image is loaded from the image.jpg file and converted
to a tensor using ImageNet normalization.
let image = Torch_vision.Imagenet.load_image "image.jpg" inFinally we run the model on the image tensor.
Module.forward model [ image ]This results in a tensor of shape 1x1000 containing the logits
for the classification layer. softmax is used to convert these
into probabilities and Classes.top returns the top 5 classes
and the associated probabilities.
An easy way to build OCaml code is to use the dune build system.
Dune reads the necessary metadata from dune files.
Create a dune file with the following content.
(executables
  (names load_and_run)
  (libraries torch torch_vision))
This instructs dune to build the load_and_run.exe executable
using load_and_run.ml with the specified libraries.
Running dune can be done with the following command.
dune build load_and_run.exeDune uses the _build directory to store the created binaries
as well as the build artifacts. The created binary can be found in
this directory or can be run directly using the command below.
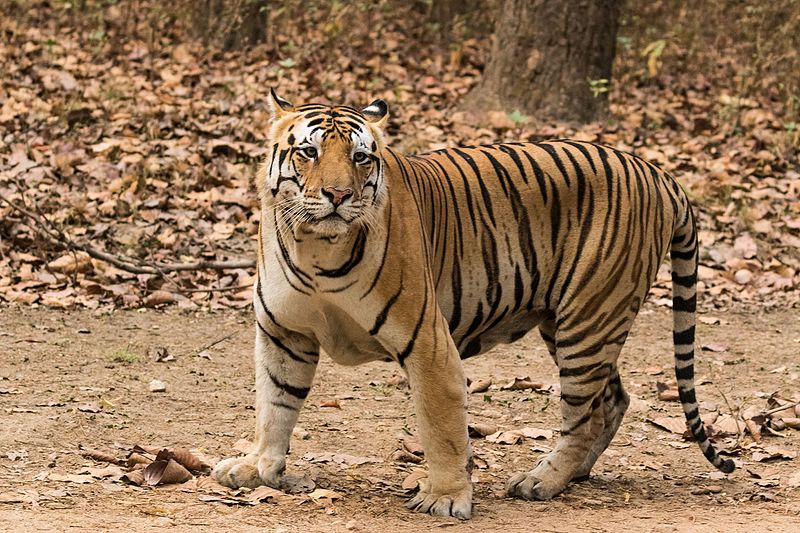
Some sample tiger
image file
can be downloaded from wikipedia.
dune exec load_and_run.exe model.pt image.jpgThis results in the OCaml code printing the top 5 predicted labels as well as the attached probabilities.
tiger, Panthera tigris: 97.60%
tiger cat: 2.32%
zebra: 0.07%
tabby, tabby cat: 0.01%
jaguar, panther, Panthera onca, Felis onca: 0.01%