


FlutterQuill 是一个富文本编辑器,也是 Quill 在 Flutter 的版本
该库是为 Android、iOS、Web、Desktop 多平台构建的『所见即所得』的富文本编辑器。查看我们的 Youtube 播放列表 或 代码介绍 以了解代码的详细内容。你可以加入我们的 Slack Group 来进行讨论
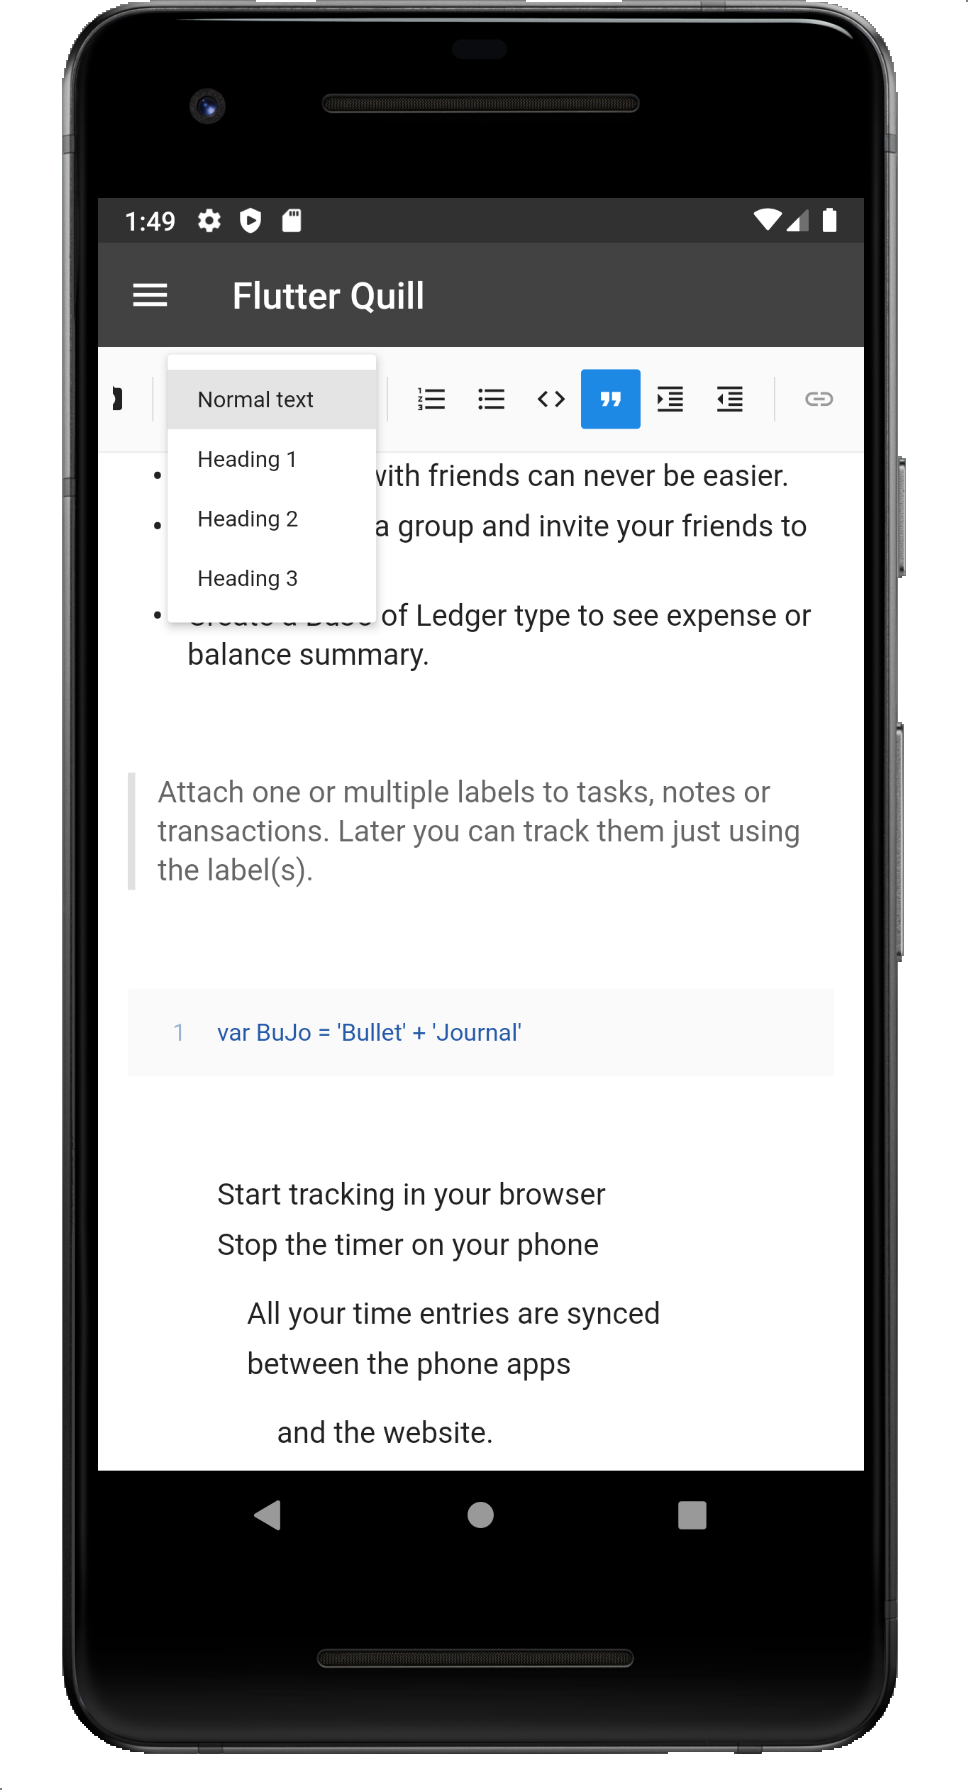
示例 App : BULLET JOURNAL
Pub : FlutterQuill


查看 示例 目录来学习 FlutterQuill 最简单的使用方法,你通常只需要一个控制器实例:
QuillController _controller = QuillController.basic();然后在你的 App 中嵌入工具栏 QuillToolbar 和编辑器 QuillEditor ,如:
Column(
  children: [
    QuillToolbar.basic(controller: _controller),
    Expanded(
      child: Container(
        child: QuillEditor.basic(
          controller: _controller,
          readOnly: false, // 为 true 时只读
        ),
      ),
    )
  ],
)
查看 示例页面 查看高级用法
该库使用 Quill 格式 作为内部数据格式
- 使用
_controller.document.toDelta()获取 Delta 格式 - 使用
_controller.document.toPlainText()获取纯文本
FlutterQuill 提供了一些 JSON 序列化支持,以便你保存和打开文档
要将文档转化为 JSON 类型,请执行以下操作:
var json = jsonEncode(_controller.document.toDelta().toJson());要将 FlutterQuill 使用之前存储的 JSON 数据,请执行以下操作:
var myJSON = jsonDecode(r'{"insert":"hello\n"}');
_controller = QuillController(
          document: Document.fromJson(myJSON),
          selection: TextSelection.collapsed(offset: 0),
);对于 Web 开发,请执行 flutter config --enable-web 来获取 Flutter 的支持,或使用 ReactQuill 获取对 React 的支持
进行 Web 开发需要提供 EmbedBuilder ,参见 defaultEmbedBuilderWeb
进行 Web 开发还需要提供 webImagePickImpl ,参见 示例页面
进行桌面端工具栏按钮开发需要提供 filePickImpl ,参见 示例页面
QuillToolbar 类允许你自定义可用的格式选项,参见 示例页面 提供了高级使用和配置的示例代码
在工具栏中提供了选择字号的下拉菜单,可通过 showFontSize 来启用或禁用
启用后,可以通过 可选的 fontSizeValues 属性修改默认字号
fontSizeValues 接收一个 Map<String, String>,其中包含一个 String 类型的标题和一个 String 类型的字号,如:
fontSizeValues: const {'小字号': '8', '中字号': '24.5', '大字号': '46'}字体大小可以使用 0 值清除,例如:
fontSizeValues: const {'小字号': '8', '中字号': '24.5', '大字号': '46', '清除': '0'}想要使用你自己的字体,请更新你的 assets folder 并且传入 fontFamilyValues
你可以通过 customButtons 可选参数将自定义按钮添加到工具栏的 末尾 ,该参数接收 QuillCustomButton 的 List
要添加一个 Icon ,我们应该实例化一个新的 QuillCustomButton
    QuillCustomButton(
        icon:Icons.ac_unit,
        onTap: () {
          debugPrint('snowflake');
        }
    ),
每个 QuillCustomButton 都是 customButtons 可选参数的一部分,如:
QuillToolbar.basic(
   (...),
    customButtons: [
        QuillCustomButton(
            icon:Icons.ac_unit,
            onTap: () {
              debugPrint('snowflake1');
            }
        ),
        QuillCustomButton(
            icon:Icons.ac_unit,
            onTap: () {
              debugPrint('snowflake2');
            }
        ),
        QuillCustomButton(
            icon:Icons.ac_unit,
            onTap: () {
              debugPrint('snowflake3');
            }
        ),
]自 6.0 版本,本库不默认支持嵌入块,反之本库提供接口给所有用户来创建所需的嵌入块。
若需要图片、视频、公式块的支持,请查看独立库 flutter_quill_extensions
import 'package:flutter_quill_extensions/flutter_quill_extensions.dart';

QuillEditor.basic(
  controller: controller,
  embedBuilders: FlutterQuillEmbeds.builders(),
);

QuillToolbar.basic(
  controller: controller,
  embedButtons: FlutterQuillEmbeds.buttons(),
);定义mobileWidth、mobileHeight、mobileMargin、mobileAlignment如下:
{
      "insert": {
         "image": "https://user-images.githubusercontent.com/122956/72955931-ccc07900-3d52-11ea-89b1-d468a6e2aa2b.png"
      },
      "attributes":{
         "style":"mobileWidth: 50; mobileHeight: 50; mobileMargin: 10; mobileAlignment: topLeft"
      }
}有时你想在文本中添加一些自定义内容或者是自定义小部件
比如向文本添加注释,或者在文本编辑器中添加的任何自定义内容
你唯一需要做的就是添加一个 CustomBlockEmbed 并将其映射到 customElementsEmbedBuilder 中,以将自定义块内的数据转换为一个 Widget ,如:
先从 CustomBlockEmbed extent 出一个 NotesBlockEmbed 类,并添加两个方法以返回 Document 用以 flutter_quill 渲染富文本
class NotesBlockEmbed extends CustomBlockEmbed {
  const NotesBlockEmbed(String value) : super(noteType, value);

  static const String noteType = 'notes';

  static NotesBlockEmbed fromDocument(Document document) =>
      NotesBlockEmbed(jsonEncode(document.toDelta().toJson()));

  Document get document => Document.fromJson(jsonDecode(data));
}
然后,我们需要将这个 notes 类型映射到其想渲染出的 Widget 中
在这里我们使用 ListTile 来渲染它,并使用 onTap 方法来编辑内容,最后不要忘记将此方法添加到 QuillEditor 中
class NotesEmbedBuilder extends EmbedBuilder {
  NotesEmbedBuilder({required this.addEditNote});

  Future<void> Function(BuildContext context, {Document? document}) addEditNote;

  @override
  String get key => 'notes';

  @override
  Widget build(
    BuildContext context,
    QuillController controller,
    Embed node,
    bool readOnly,
    bool inline,
  ) {
    final notes = NotesBlockEmbed(node.value.data).document;

    return Material(
      color: Colors.transparent,
      child: ListTile(
        title: Text(
          notes.toPlainText().replaceAll('\n', ' '),
          maxLines: 3,
          overflow: TextOverflow.ellipsis,
        ),
        leading: const Icon(Icons.notes),
        onTap: () => addEditNote(context, document: notes),
        shape: RoundedRectangleBorder(
          borderRadius: BorderRadius.circular(10),
          side: const BorderSide(color: Colors.grey),
        ),
      ),
    );
  }
}
最后我们编写一个方法来添加或编辑内容
showDialog 方法先显示 Quill 编辑器以让用户编辑内容,编辑完成后,我们需要检查文档是否有内容,若有则在 BlockEmbed.custom 传入添加或编辑了的 NotesBlockEmbed
注意,如果我们没有在 BlockEmbed.custom 传如我们所自定义的 CustomBlockEmbed ,那么编辑将不会生效
Future<void> _addEditNote(BuildContext context, {Document? document}) async {
  final isEditing = document != null;
  final quillEditorController = QuillController(
    document: document ?? Document(),
    selection: const TextSelection.collapsed(offset: 0),
  );

  await showDialog(
    context: context,
    builder: (context) => AlertDialog(
      titlePadding: const EdgeInsets.only(left: 16, top: 8),
      title: Row(
        mainAxisAlignment: MainAxisAlignment.spaceBetween,
        children: [
          Text('${isEditing ? 'Edit' : 'Add'} note'),
          IconButton(
            onPressed: () => Navigator.of(context).pop(),
            icon: const Icon(Icons.close),
          )
        ],
      ),
      content: QuillEditor.basic(
        controller: quillEditorController,
        readOnly: false,
      ),
    ),
  );

  if (quillEditorController.document.isEmpty()) return;

  final block = BlockEmbed.custom(
    NotesBlockEmbed.fromDocument(quillEditorController.document),
  );
  final controller = _controller!;
  final index = controller.selection.baseOffset;
  final length = controller.selection.extentOffset - index;

  if (isEditing) {
    final offset = getEmbedNode(controller, controller.selection.start).offset;
    controller.replaceText(
        offset, 1, block, TextSelection.collapsed(offset: offset));
  } else {
    controller.replaceText(index, length, block, null);
  }
}
这样我们就成功的在富文本编辑器中添加了一个自定义小组件

- 更多信息和视频示例,请参阅 这个特性的 PR
- 有关更多详细信息,请查看 这个 Youtube 视频
该库为 QuillToolbar 和 QuillEditor 提供了部分翻译,且若你未设置自己的语言环境,则它将使用系统语言环境:
QuillToolbar(locale: Locale('fr'), ...)
QuillEditor(locale: Locale('fr'), ...)
目前,可提供以下 27 种语言环境的翻译:
Locale('en')Locale('ar')Locale('cs')Locale('de')Locale('da')Locale('fr')Locale('he')Locale('zh', 'cn')Locale('zh', 'hk')Locale('ko')Locale('ru')Locale('es')Locale('tr')Locale('uk')Locale('ur')Locale('pt')Locale('pl')Locale('vi')Locale('id')Locale('it')Locale('ms')Locale('nl')Locale('no')Locale('fa')Locale('hi')Locale('sr')Locale('jp')
翻译文件位于 toolbar.i18n.dart
随意贡献你自己的翻译,只需复制英文翻译映射并将值替换为你的翻译即可
然后打开一个拉取请求,这样每个人都可以从你的翻译中受益!
将你的文档转为 Quill Delta 格式有时还不够,通常你需要将其转化为其他如 HTML 格式来分发他,或作为邮件发出
一个方案是使用 vsc_quill_delta_to_html Flutter 包来转化至 HTML 格式。此包支持所以的 Quill 操作,包含图片、视频、公式、表格和注释
转化过程可以在 vanilla Dart 如服务器端或 CLI 执行,也可在 Flutter 中执行
其是流行且成熟的 quill-delta-to-html Typescript/Javascript 包的 Dart 部分
为了能在测试文件里测试编辑器,我们给 flutter WidgetTester 提供了一个扩展,其中包括在测试文件中简化与编辑器交互的方法。
在测试文件内导入测试工具:
import 'package:flutter_quill/flutter_quill_test.dart';然后使用 quillEnterText 输入文字:
await tester.quillEnterText(find.byType(QuillEditor), 'test\n');