| title | description | icon |
|---|---|---|
Quickstart |
Start building modern documentation in under five minutes |
rocket |
Welcome! Follow the instructions below to learn how to deploy, update and supercharge your documentation with Mintlify.
Mintlify docs are rendered from MDX files and configurations defined in our starter template. We use Github to integrate your docs with your code, and make source control effortless.
If you've created a docs repo in our onboarding, this step is complete. You can find your docs repository on your Mintlify [dashboard](https://dashboard.mintlify.com).
To create your docs repo without logging into Github, follow these instructions:
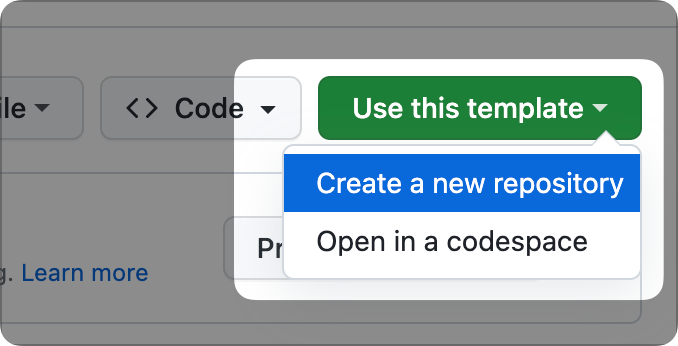
1. Clone our [starter template](https://github.com/mintlify/starter) into a new public repo. You can make the repo private later.
2. [Get in touch](mailto:support@mintlify.com) with our team to deploy your repo.
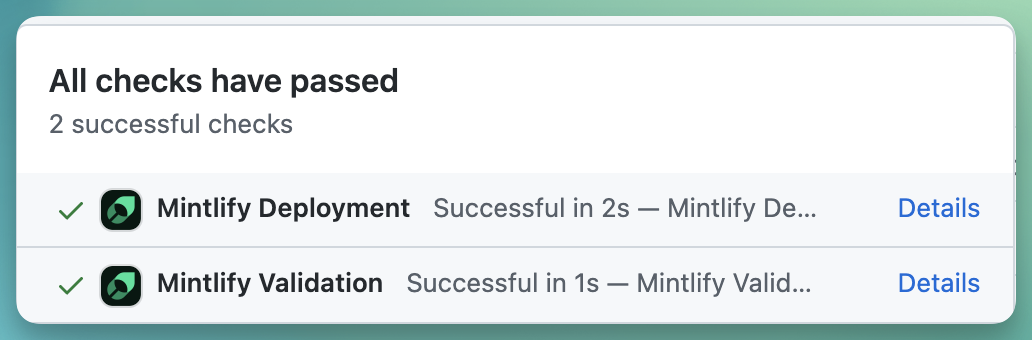
The next step is to install our Github app. This ensures that your updates are automatically deployed when you push changes. You can find the installation link in the [dashboard](https://dashboard.mintlify.com/settings), on the Settings page. Upon successful installation, a check mark will appear next to the commit hash of the repository.
Mintlify enables you to easily customize the style, structure, and content of your docs.
We provide a white-glove migration service as part of our Enterprise plan. Interested? Request it [here](mailto:sales@mintlify.com)**Edit Locally (Recommended for Developers):**
1. Install [git](https://git-scm.com/book/en/v2/Getting-Started-Installing-Git).
2. Once git is installed, clone your docs repository using `git clone <your-repo>`. If you haven't set it up yet, now would be a good time to do so with these [SSH keys](https://docs.github.com/en/authentication/connecting-to-github-with-ssh/generating-a-new-ssh-key-and-adding-it-to-the-ssh-agent).
3. Use your favorite IDE to open the repository.
4. Install our Mintlify CLI to preview changes with `npm i -g mintlify`. Learn more about this in our [development guide](/development).
**Editing Online:**
Here are two ways to edit your repository online:
* To edit a single file, locate and click the edit button. This will open a web editor right on Github.

* For a more versatile online experience, open your git repository in Github's [github.dev](https://github.dev) online IDE. Simply replace `github.com` in your repo URL with `github.dev`. For example, use `github.dev/mintlify/docs` instead of `github.com/mintlify/docs`.
> **Monorepo Setup** <br/>
> We also support a mono-rep setup, allowing you to add our starter template within a docs folder in your existing repo.
> 1. Clone the starter template and move its contents into your docs folder
> 2. Delete the .git directory.
> 3. You can also choose the path to your mint.json in the dashboard under 'Settings' <br/>
>  <br/>
> The mono-repo setup eliminates the need for creating a new repo.
Easily customize colors, logos and buttons among other configurations in our `mint.json` file. Start with these basic configurations:

```json
"name": "Your Company"
"logo": {
  "light": "/logo/light.svg",
  "dark": "/logo/dark.svg",
  "href": "https://yourcompany.com"
},
"favicon": "/favicon.svg",
"colors": {
  "primary": "#2AB673",
  "light": "#55D799",
  "dark": "#117866",
},
```

A full list of supported configurations can be found [here](/settings/global).
Add content with simple MDX files. Initiate your pages with this template:

```md
---
title: "Page Title"
sidebarTitle: "Sidebar title (optional - if different from page title)"
description: "Subtitle (optional)"
---
```

Learn more about adding images, tables, lists, and more using the [MDX syntax](/text). We also offer a wide array of components which are listed [here](/content/components).
Once ready, commit and push your changes to update your docs site. Here is a [guide](https://docs.github.com/en/get-started/using-git/pushing-commits-to-a-remote-repository#about-git-push) on how to do that. If the Github app is unable to successfully deploy your changes, you can manually update your docs through our [dashboard](https://dashboard.mintlify.com).

Mintlify supports an array of advanced features like API reference docs, analytics, and versioning to accommodate any of your documentation needs.
You can easily set up your API references using an OpenAPI document.

1. Add your `openapi.yaml` or `openapi.json` file into your docs repository or define the `openapi` field in `mint.json` with a URL.

```json
"openapi": "link-to-your-openapi-file"
```

2. Use our [scraper](/api-playground/openapi/setup#autogenerate-files-recommended) to autogenerate your OpenAPI endpoints files as:

```bash
npx @mintlify/scraping@latest openapi-file <path-or-url-to-openapi-file>
```

3. Finally, include the generated endpoint MDX files to your `mint.json` under `navigation`.

For a complete guide on using Mintlify with OpenAPI, check out [this guide](/api-playground/openapi/setup). [This guide](/api-playground/openapi/writing-openapi) explains how to configure your API authentication methods. For manual API references definition, explore [our syntax](/api-playground/overview).
Integrate your docs into your website by hosting them on a custom domain. This is included even in the free Mintlify plan. Navigate to your [dashboard settings](https://www.dashboard.mintlify.com/settings) to add a custom domain.

Our in-house analytics give you insights into page views, search analytics, session recordings and more. Access these on your [dashboard](https://dashboard.mintlify.com/analytics). We also support integrations with a range of analytics providers. You can find the list of providers [here](/integrations/analytics/overview).
Congrats! You've set up your Mintlify Docs and it's looking amazing! Need support or want to give some feedback? You can join our community or drop us an email at support@mintlify.com.