- The project was initiated during Winter of Code 1.0 by DSC IIIT Kalyani and is currently under development.
- The idea behind this is to facilitate a video calling service built with python sockets(IPv4) and Open-CV, which replaces the users voice by a robotic/AI voice and the video by a neon projection of the users face on a black screen for anonimity purposes.
A screenshot of the connected system is shown below:

- Add documentation #2
- Transfer audio over the connection #3
- Improve facial landmark detection #8
- Create a Conda environment
conda create -name myenv python=3.6
- Cd into your newly created environment (from command line)
cd C:...\path-to-your-conda-environment\
conda activate myenv
- Installing modules we will need
conda install -c conda-forge dlib
conda install -c conda-forge opencv
- Fork and clone this repo
- Make sure your clone resides into the conda environment you created
- Run server.py and client.py in two different cmd windows/terminals
 |
 |
 |
 |
|
Are You a newbie in the world of open source and want to Contribute to our Open Source Project ? Don't worry we got your back
Below are the steps to follow to contribute to this project
-
If you don't have git on your machine, install it.
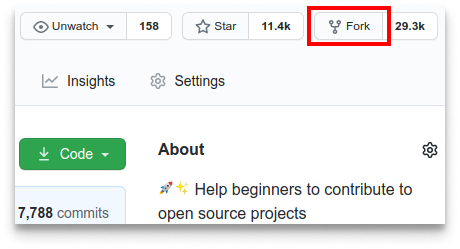
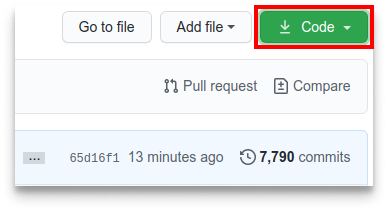
Now clone the forked repository to your machine. Go to your GitHub account, open the forked repository, click on the code button and then click the copy to clipboard icon.
Open a terminal and run the following git command:
git clone "url you just copied"
where "url you just copied" (without the quotation marks) is the url to this repository (your fork of this project). See the previous steps to obtain the url.

For example:
git clone https://github.com/this-is-you/VCallZer.git
where this-is-you is your GitHub username. Here you're copying the contents of the first-contributions repository on GitHub to your computer.
cd VCallZer
git remote add upstream https://github.com/akshitadixit/VCallZer.git
git remote -v
git pull upstream master
Now create a branch using the git checkout command:
git checkout -b your-new-branch-name
For example:
git checkout -b add-issueno.x
(The name of the branch does not need to have the word add in it, but it's a reasonable thing to include because the purpose of this branch is to add your solved issue to the project.)
Perform your desired changes to the code base.

If you go to the project directory and execute the command git status, you'll see there are changes.
Add those changes to the branch you just created using the git add command:
git add <file name>
Now commit those changes using the git commit command:
git commit -m "Add new feature <issue-no> to the main repo "
replacing <issue-no> with the issue number you are assigned.
Push your changes using the command git push:
git push origin <add-your-branch-name>
replacing <add-your-branch-name> with the name of the branch you created earlier.
If you go to your repository on GitHub, you'll see a Compare & pull request button. Click on that button.
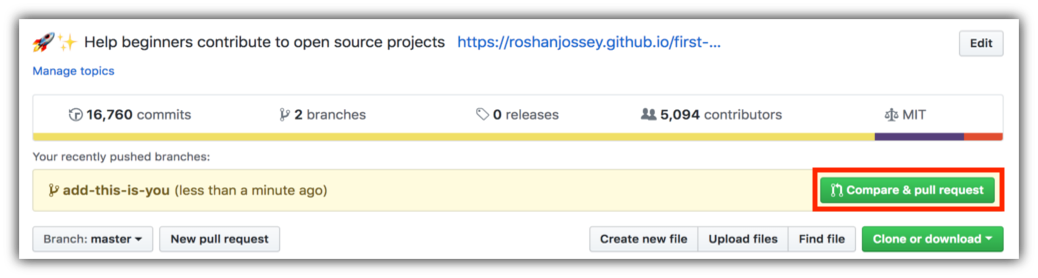
Now submit the pull request.

- Hurray ❗ You have created a PR to the VCallZer 💥 . Sit back patiently and relax till then the project maintainers will review your PR. Please understand, there will be some time taken to review a PR and can vary from a few hours to a few days too so be Patient and keep contributing.