- posts loading from google docs - DONE
- posts from gdocs building correctly - DONE
- finalizer node script - DONE
- update verbose logging - DONE
- libsass - DONE
- finish template, shakedown build & workflow - WIP
- add contracts
- add unit tests
- Load posts from Docs in a Google Drive folder!
- Instead of Bootstrap/jQuery, the template utilizes:
- Optional Node.js workflow to clean and inline the styles and minify everything.
google-drive-racket provided much of the Google Docs access functionality, so much thanks to Prof. Martin!
-Lor--load-from-gdocs: Load new posts from Google Drive.-For--finalizer-setup: Set up the Node finalizer script.-Kor--skip-finalizer: Skip the finalizer.
You need to define three params:
ga-client-id
ga-client-secret
ga-posts-folder
How you do so is up to you, but most importantly:
DO NOT PUT THESE VALUES IN A PUBLIC REPO!!!
So, putting them in your frog.rkt is a bad idea if you're going to put it on Github. You could, for example, put them in a separate file that's gitignore'd and import that file into frog.rkt. However, what you should do is use environment variables. I've defined some default env vars that GFrog will check for the required info. The env var names are params, so you can change them if you'd like to. Here's the defaults:
GFROG_GA_CLIENT_ID
GFROG_GA_CLIENT_SECRET
GFROG_GA_POSTS_FOLDER
Note that tokens are stored in files named with a hash of param current-scheme/host, so if this is changed you'll be prompted to log in again.
(mostly taken from a comment in google-drive-racket)
- Go to Google Developers Console and make a project.
- Go to Dashboard > Explore other services > Enable APIs and get credentials like keys.
- Then Google Apps APIs > Drive API (and enable it).
- Then in the left-column menu, Credentials.
- Then Create credentials > Oauth client ID > Other.
- Then copy the client ID and secret into the appropriate env vars.
- In Google Drive, make a folder for your posts, and then copy the folder ID in its env var.
GFrog will load the doc as HTML and strip out the GDocs-specific stuff, so just make a doc as you normally would. Some things that are too complex to replicate (like multiple columns) don't work.
Google Docs use a redirect for link hrefs, so when you load a post GFrog will parse the links and try to determine the actual URL from the redirect, then show you the original and parsed URL and ask if you'd like to accept it or put a different URL in.
Images are downloaded to and served from img/. Note that an image won't download again if one with the same name is already present in the folder.
GFrog uses the description field from the Google File object for Tags and Date (nothing for Authors at the moment), which it parses with a YAML parser. It needs at least Date, in yyyy-mm-dd format. For example:
tags: world, hello
date: 2019-01-03
(Yes, lowercase. It's easier to tell you this than to go back and deal with casing.)
To access the description field, select the document in Google Drive (don't open it), hit the info button ⓘ on the top right, then click on the Details tab. The field is on the bottom with the placeholder text "Add a description".
Currently there's no syncing for stuff that gets removed from the Google Drive folder, so you'll have to delete the post from _src/posts (and images from img/ if applicable) yourself. Same to re-parse a post you didn't touch on Google Docs/Drive or to re-download an image - just delete the local version.
Requires libsass
You can make your posts' styles in _src/scss/posts.scss, and I've included a custom extend-only version of tachyons-sass to import from if you like. This goes great with Sass's @extend:
// Sass
@import "tachyons-sass/_variables.scss";
@import "tachyons-sass/_skins.scss";

article {
    a {
        @extend %silver
    }

}

// CSS
article a {
  color: #999;
}
If you don't have libsass installed, GFrog will just skip it and you can write your styles in css/posts.css. If you have it installed, GFrog will compile posts.scss into css/posts.css (note this will nuke out anything in posts.css).
The file names are hard-coded for the moment. At some point I'll make GFrog compile whatever sass/scss files it finds in _src/scss/. If sass errors, you'll get the error message but the build will keep running.
Requires Node.js v11.9.0+
GFrog will try to install the Node deps during init. If you don't have Node installed or have <v11.9.0, the install won't run and GFrog won't bug you about it any further. You can turn it on later by enabling the param node-available and running the finalizer set up command. If all's well, you'll see the script finalize.mjs in your blog's root dir. I've also set up a .gitignore file with node_modules and package-lock.json skipped for you.
I'm a front-end guy by day and I'm using ES6 modules, hence the version req and .mjs extension. If this is an inconvenience because you don't do JS for a living and therefore aren't used to dealing with having more Node versions than system libs installed, do like we do and use the wonderful nvm.
The script is right there in your blog directory so feel free to modify to your heart's content! I had the idea to make this configurable besides just on/off, but this is how I want my files processed and I have no idea if anyone else will use this. So, if you want this feature, make me feel important and post an issue :)
The full processing results in a minified HTML file with just the CSS styles present on the page inline in the <head>. Here's how:
- After the regular Frog build process runs, each file is read into a string and run through uncss to generate another string of just the styles used in that file.
- All comments are stripped from the resulting CSS string...
- Which is then run through autoprefixer and cssnano via postcss for vendor prefix double-checking and minification.
- The normal
<link>CSS tags are stripped from the HTML string and the<!-- CSS -->comment is replaced with the CSS string. - The whole HTML string is minified and written over the file it was read from.
Note this runs after the file is generated, so if the script errors, the un-minified file will be left in place.
Below is the original readme for Frog, provided for reference. The build status, etc. do not accurately reflect this repo
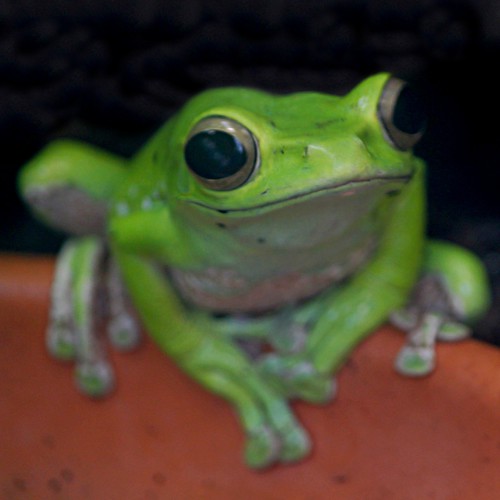
Frog image by @Goug8888, used under Creative Commons license Attribution-NonCommercial-ShareAlike 2.0 Generic.

Frog is a static web site generator written in Racket.
You write content in Markdown or Scribble. You generate files. To deploy, you push them to a GitHub Pages repo (or copy them to Amazon S3, or whatever).
Posts get a variety of automatic blog features.
You can also create non-post pages.
Pygments handles syntax highlighting for code blocks.
The generated site uses Bootstrap, which is responsive, automatically adapting to various screen sizes.