PyTorch Implementation of AnimeGANv2
This is a fork version that can evaluate Face Portrait v2 locally, both images & videos
Follow this YouTube tutorial or if you have any questions feel free to join my discord and ask there.
We are going to use Anaconda3, download Anaconda3 if you don't have it.
- Create conda environment:
conda create -n AnimeGANv2 python=3.7
conda activate AnimeGANv2
- Setup conda environment for nvidia non-30 series GPU:
conda install pytorch torchvision torchaudio cudatoolkit=10.2 -c pytorch
- Setup conda environment for nvidia 30 series GPU:
conda install pytorch torchvision torchaudio cudatoolkit=11.3 -c pytorch
- Setup the rest of the conda environment:
clone this repo, and cd into the base folder. Then enter the following commands:
pip install -r requirements.txt
conda install -c conda-forge ffmpeg
- To reuse the created conda environment after you close the prompt, you just need to:
conda activate AnimeGANv2
Download the following files:
File Structure:
📂animegan2-pytorch/ # this is root
├── 📜shape_predictor_68_face_landmarks.dat (unzip it after download)
├── 📜face_paint_512_v2_0.pt
├── 📜requirements.txt
├── 📂samples/
│   │...
│...
Put the image/s you want to evaluate into the sample/inputs folder.
Run the following command:
python face_test.py
And you will find the results under sample/results
We are going to use ffmpeg to extract videos frame by frame, evaluate them inividually, and combine them back together.
Choose a video, for example mine will be elon.mp4, and put it in the samples folder. Also create a folder called temp, it'll be where we store all the extracted images from the video.
Extract the frames in this format:
ffmpeg -i samples/YOUR_VIDEO -vf fps=YOUR_VIDEO_FPS samples/temp/YOUR_VIDEO_NAME%06d.png
For my example, it'll be:
ffmpeg -i samples/elon.mp4 -vf fps=30 samples/temp/elon%06d.png
Now we going to run the images through the AI:
python face_test.py --input_dir samples/temp
After this is done, you can combine the result images back together.
Putting frames back together with this format:
ffmpeg -i samples/results/YOUR_VIDEO_NAME%06d.png -vf fps=YOUR_VIDEO_FPS -pix_fmt yuv420p samples/YOUR_VIDEO_NAME_result.mp4
For my example, it'll be:
ffmpeg -i samples/results/elon%06d.png -vf fps=30 -pix_fmt yuv420p samples/elon_result.mp4
And you can find your video under the samples folder. And that's it!
Results from converted [Paprika] style model
(input image, original tensorflow result, pytorch result from left to right)


Note: Training code not included / Results from converted weights slightly different due to the bilinear upsample issue
Webtoon Face [ckpt]
samples
Trained on 256x256 face images. Distilled from webtoon face model with L2 + VGG + GAN Loss and CelebA-HQ images. See test_faces.ipynb for details.

Face Portrait v1 [ckpt]
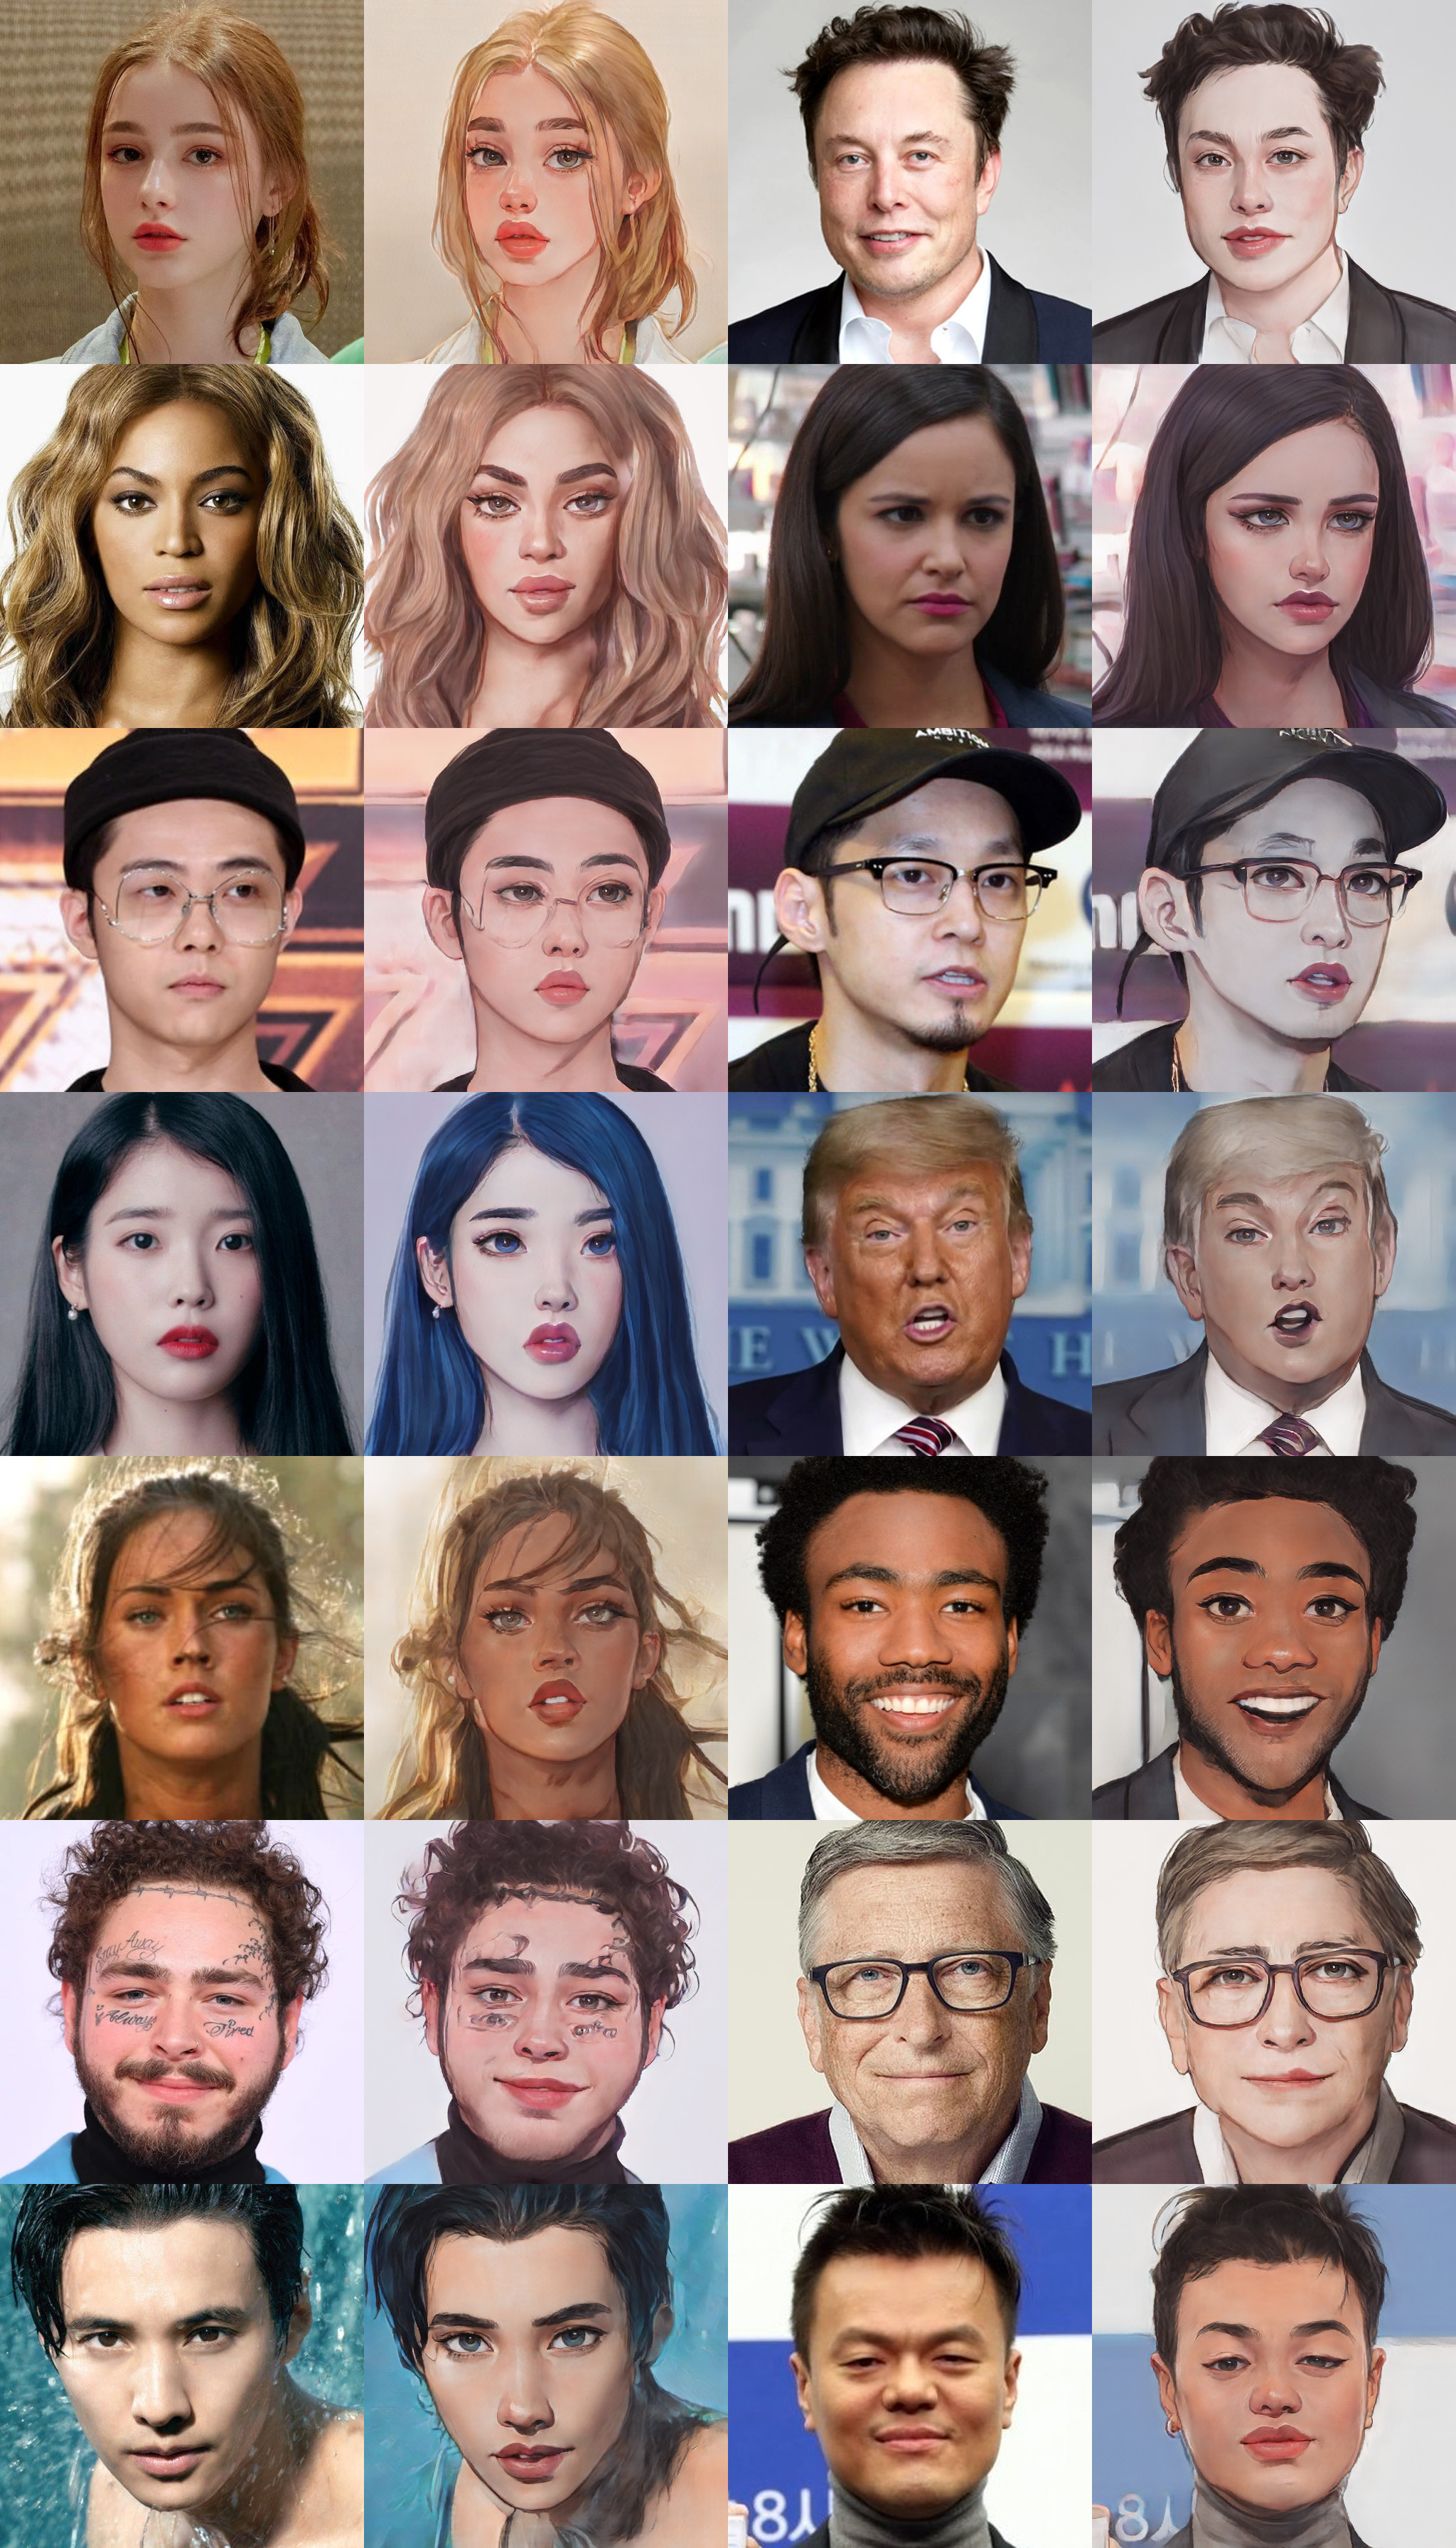

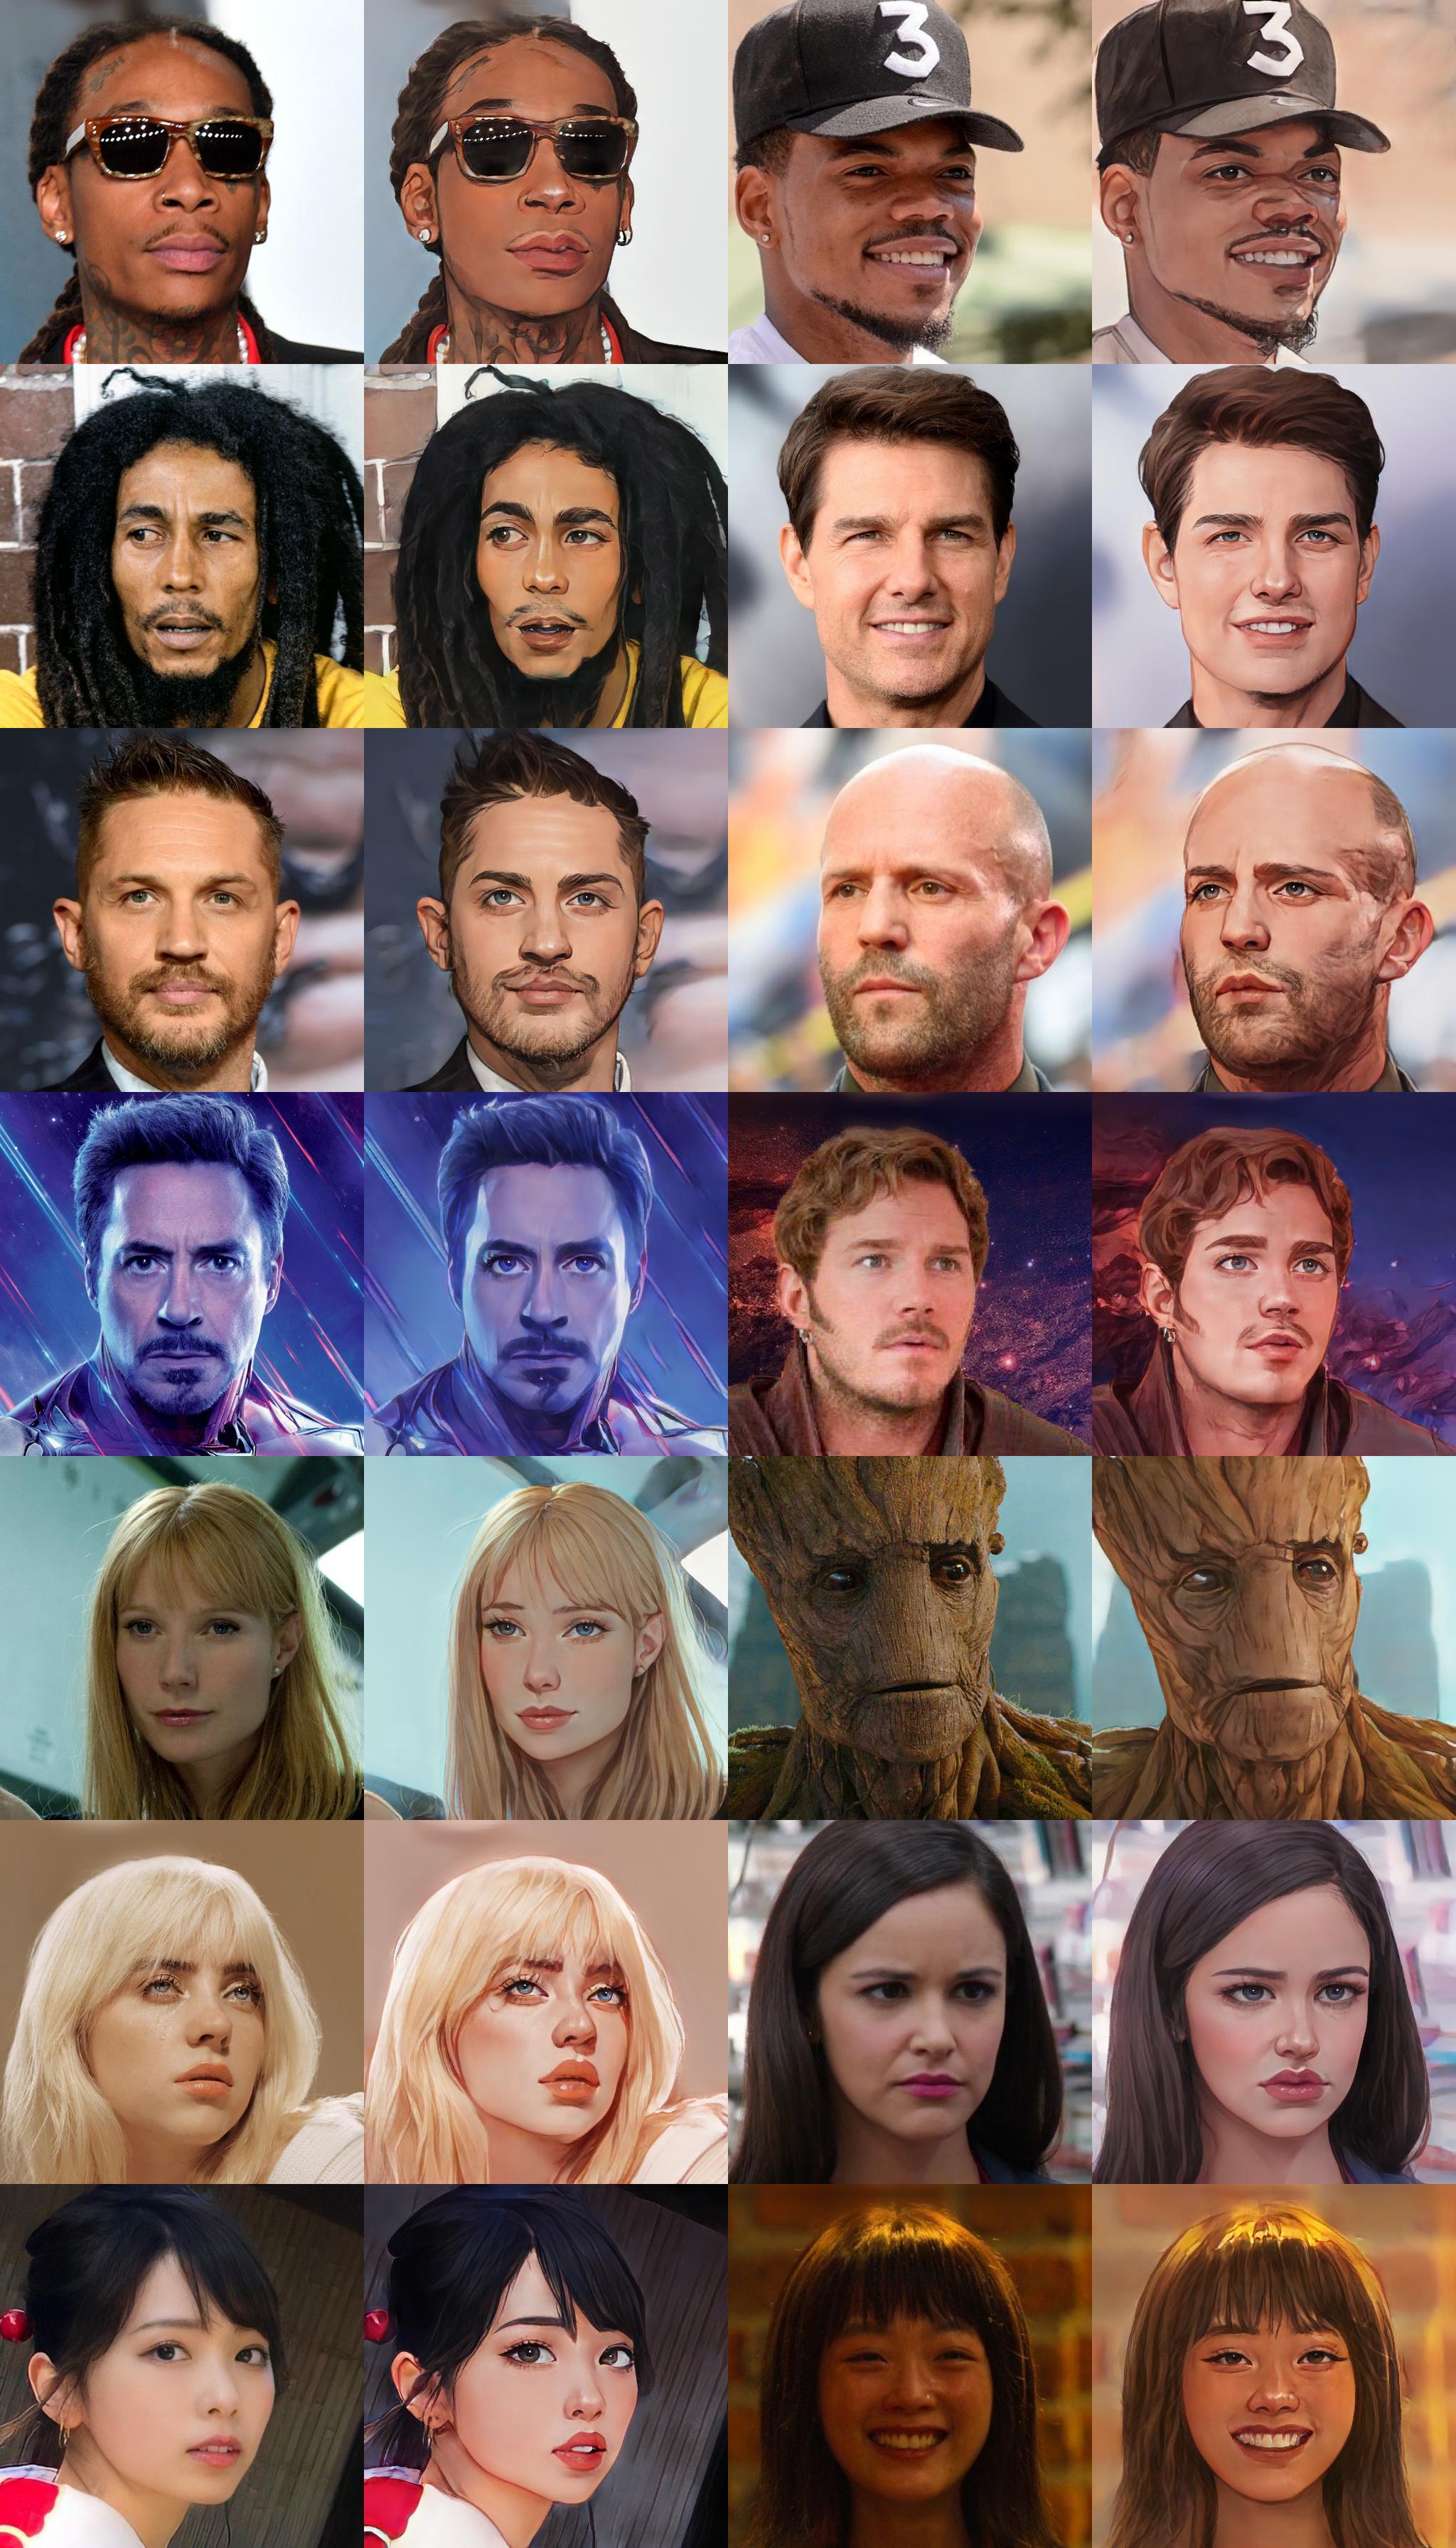
Face Portrait v2 [ckpt]
samples
Trained on 512x512 face images. Compared to v1, 🔻beautify 🔺robustness

🦑 🎮 🔥

You can load Animegan v2 via torch.hub:
import torch
model = torch.hub.load('bryandlee/animegan2-pytorch', 'generator').eval()
# convert your image into tensor here
out = model(img_tensor)
You can load with various configs (more details in the torch docs):
model = torch.hub.load(
    "bryandlee/animegan2-pytorch:main",
    "generator",
    pretrained=True, # or give URL to a pretrained model
    device="cuda", # or "cpu" if you don't have a GPU
    progress=True, # show progress
)
Currently, the following pretrained shorthands are available:
model = torch.hub.load("bryandlee/animegan2-pytorch:main", "generator", pretrained="celeba_distill")
model = torch.hub.load("bryandlee/animegan2-pytorch:main", "generator", pretrained="face_paint_512_v1")
model = torch.hub.load("bryandlee/animegan2-pytorch:main", "generator", pretrained="face_paint_512_v2")
model = torch.hub.load("bryandlee/animegan2-pytorch:main", "generator", pretrained="paprika")
You can also load the face2paint util function. First, install dependencies:
pip install torchvision Pillow numpy
Then, import the function using torch.hub:
face2paint = torch.hub.load(
    'bryandlee/animegan2-pytorch:main', 'face2paint',
    size=512, device="cpu"
)

img = Image.open(...).convert("RGB")
out = face2paint(model, img)