Upgrade Guide v0.4.1
Skybian v0.1.0 is not supported and users are adviced to reflash by following the Skyimager User Guide.
The new Skywire v0.4.1 comes natively with the new Skybian v0.2.0 release. You can use Skyimager to flash these images on your micro sd cards if you decide to not follow this upgrade guide. If you do not have access to the hypervisorUI and the hypervisor board is not accessible via SSH, please refer to the Skyimager User Guide directly to apply the new upgrade.
Users running Skywire version 0.3.0 and below on their Skyminer boards are strongly encouraged to update their Visors to Skywire version 0.4.1. Skywire v0.4.1 includes:
- merged Skywire visor & Skywire hypervisor binaries
- Skywire VPN server security improvements
- Skywire VPN client killswitch features
- a lot of additional 'under-the-hood' improvements
Due to the binary merge of the Skywire visor and Skywire Hypervisor, the hypervisor upgrade must be performed one last time via script while the visor upgrades can be applied via the upgrade-all button in the hypervisorUI.
Important: It is recommended to start with updating the Skywire Visors before updating the Hypervisor.
Please visit the hypervisorUI and login with you credentials.
Next, please click on the Update all visors button by clicking on the menu button in the upper right:

Apply the upgrade and wait for it to be downloaded and installed. Your visors will now be upgraded and will reboot themselves. This might take a couple minutes depending on the speed of your network connection but in general it should not take much longer than 5 minutes.
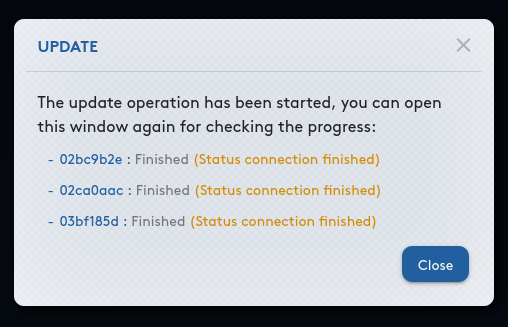
Once the upgrade is done, the popup will look as follows:
Please proceed with the hypervisor.
The Hypervisor should be upgraded last. Make sure you have upgraded all your Skywire Visors before you upgrade the Hypervisor.
In order to upgrade the Hypervisor, open the terminal on your computer (use PuTTY on Windows). Once opened, enter the following command and swap out the IP used with the IP of the Hypervisor board (i.e. the IP assigned to the Skyminer router - this requires the port forwarding rules to be in place).
# Orange Pi Prime Users please execute
ssh root@192.168.1.10


# Raspberry Pi Users please execute
ssh pi@192.168.1.10
sudo -i
Once you hit enter, insert the password for the board. By default that password is skybian.
Once you are logged into the hypervisor board, paste the following command and hit Enter:
# Orange Pi Prime Users please execute
curl https://raw.githubusercontent.com/skycoin/skybian/master/static/migrate-single-binary.sh | bash
# Raspberry Pi Users please execute
curl https://raw.githubusercontent.com/asxtree/skybian/new-skyraspbian/static/migrate-single-binary.sh | bashAfter the script executed, return to the Hypervisor UI and log in (note that you might have to set a new password since the old userdb was not migrated and that the hypervisor board will now be running a Skywire visor by default).
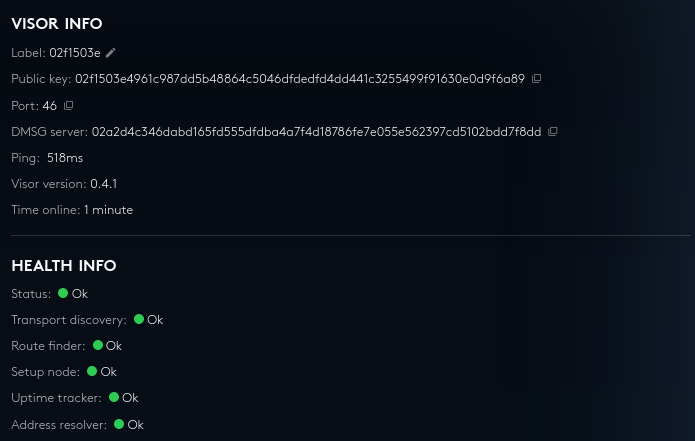
The UI should now be upgraded and look similar to the image below:

Please visit the individual visor details pages of your Skywire visors and ensure that they are running the Visor version: v0.4.1.
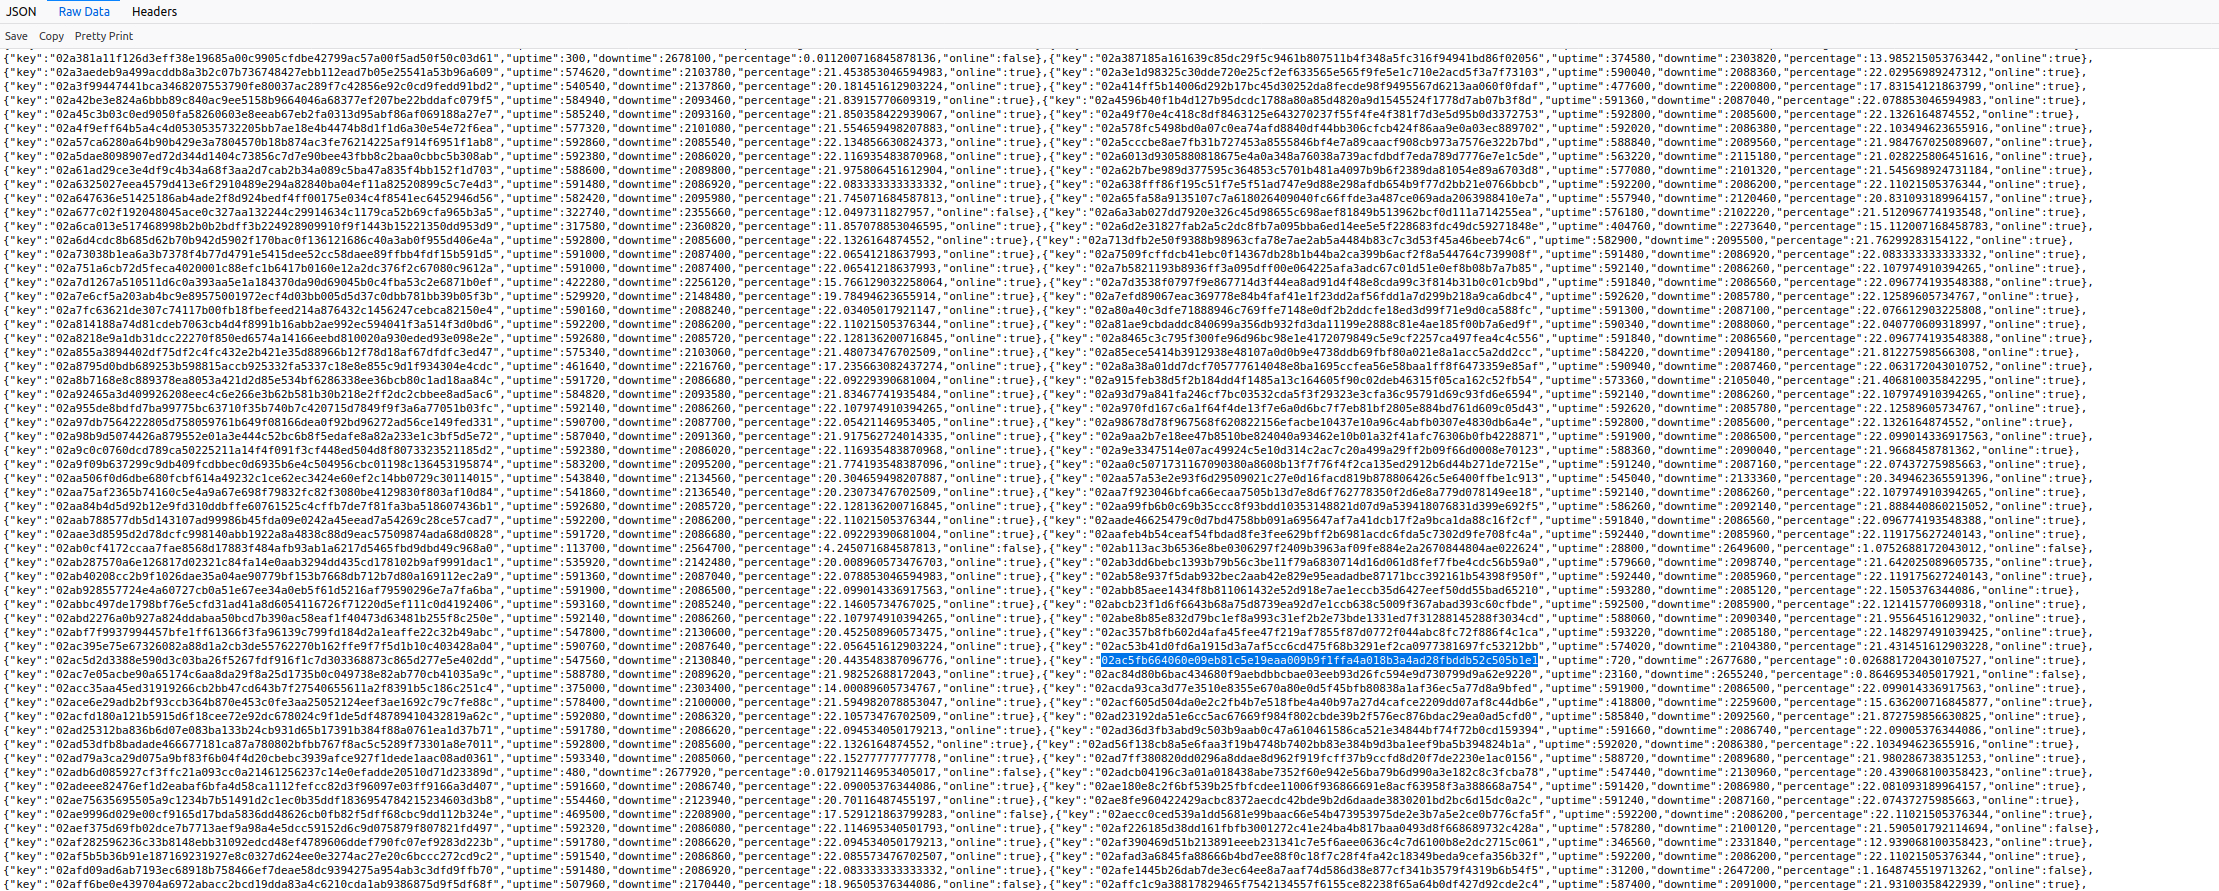
Also, please check that all HEALTH INFO indicators are green and that your keys are listed on the uptime tracker website.
Do not forget to register the additional visor running on the hypervisor to your Skywire Whitelisting System user account.