Learn how to speed up how you navigate through code.

Now with more Regex!

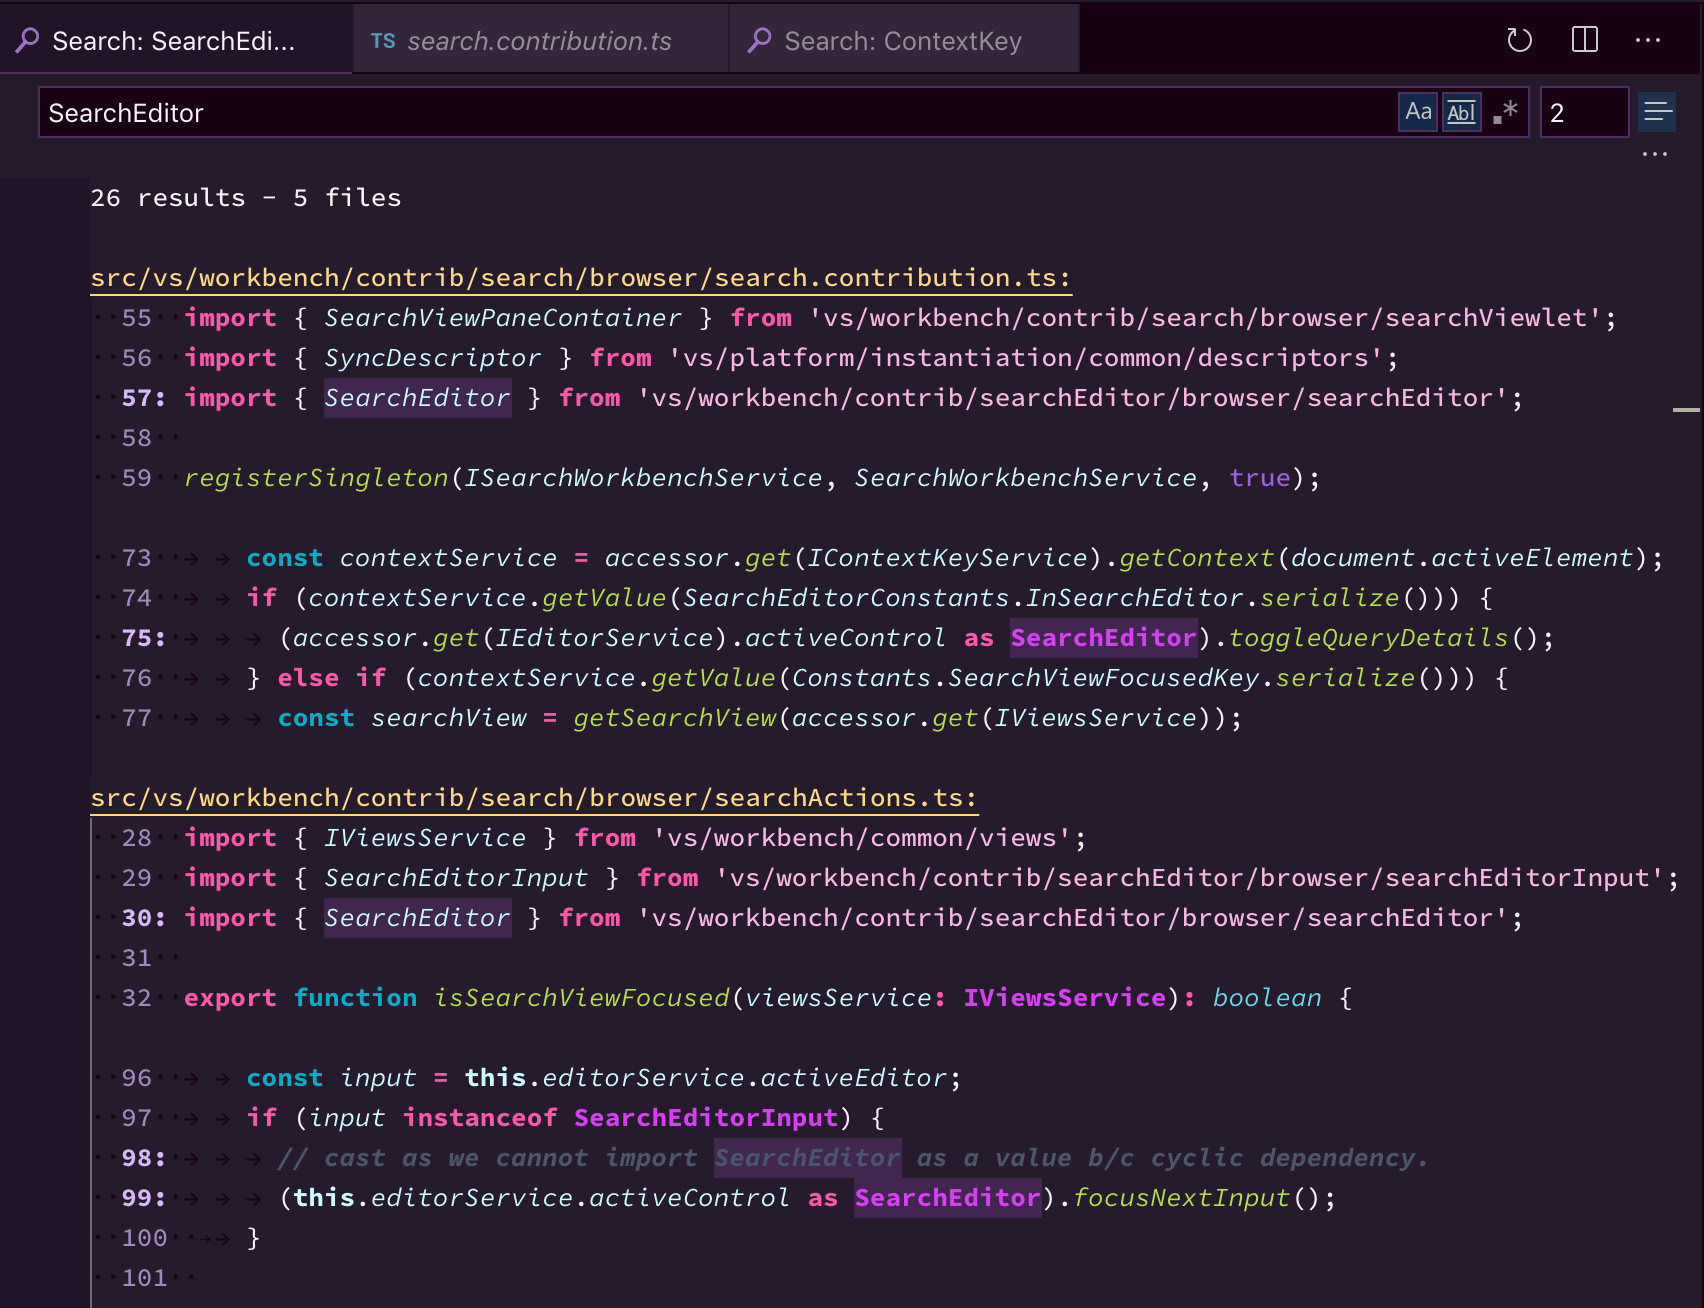
If you want to do some really detailed/contextual searching also check out the Search Editor which allows you to see more context around your search results and open it in a full window:
Bring your favorite keymaps: vim/emacs/sublime/…
Filter the extension marketplace search with @category:"keymaps" to see all the ones folks have contributed.
Helpful cheat sheets for keybord shortcuts: Windows, Mac, Linux.
1. Create a new file `hello.py` in the `tutorial` package with a function `say_hello` that prints a message using the `emoji` library. Use IntelliSense to find the right function and order of input arguments from the library.
2. Output the text of Zen of Python into a file by running `python -c "import this" > zen_of_python.md`.
3. Open the file and replace the word "is" with the word "was". How many keystrokes does it take to make this replacement in the editor?
4. Use regex search to find all sentences that have the pattern `\w+ better than \w+.`. Replace it with `is awesome!`.
5. Use Alt+ ↑ / ↓ to move the line "Readability counts." to the top.
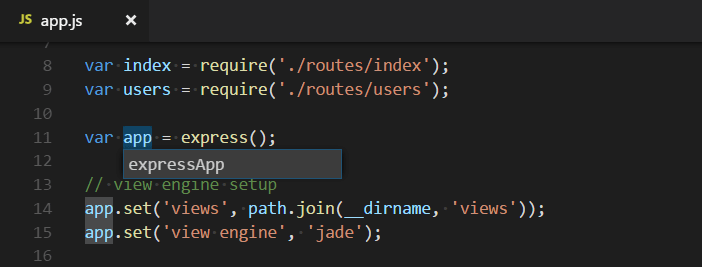
Have you ever been typing and a popup with an auto-completion or hint pop up in a menu that you could pick from?
IntelliSense is a general term for a whole catagory of features like this including: code completion, parameter info, quick info, and member lists.
In VS Code it will automatically pop up as you type for supported languages or with Ctrl+Space | Cmd+Space.
If you are not sure what the little icons next to certian suggestions mean, you can see a legend in the docs.

There are a lot of customization options for how and when for Intellesense popups to open, check them out here and tweak or even turn off to your hearts content ❤️
IntelliSense is not AI generated, it uses language servers and other fancy diagnostic tools to constantly be analyzing your code to make suggestions. If you want to try writing code with AI suggestions as well, you can check out GitHub Copilot which we will cover in Chapter 4.
Try typing some new code in the sample notebook [here](TODO) and see what IntelliSense suggests!
Helps you look up a particular object/class/method/etc.
Quick way to follow clues and solve mysteries.
If find all + replace won't work, the refactoring tools like renaming a symbol below are always available.
Type the name of the snippet or an alias and then tab to insert.
Now that we finally know our way around the editor it’s time to write and test some code! Here we’ll go through a few exercises that let you test the code you’ve written in the previous exercise and debug it.
One important concept here is understanding what is the current Python interpreter. This can be set from the command pallet, and is the actual install/environment where VS Code will run your code.
There are a few ways to run Python code in VS Code (other than the terminal 😄):
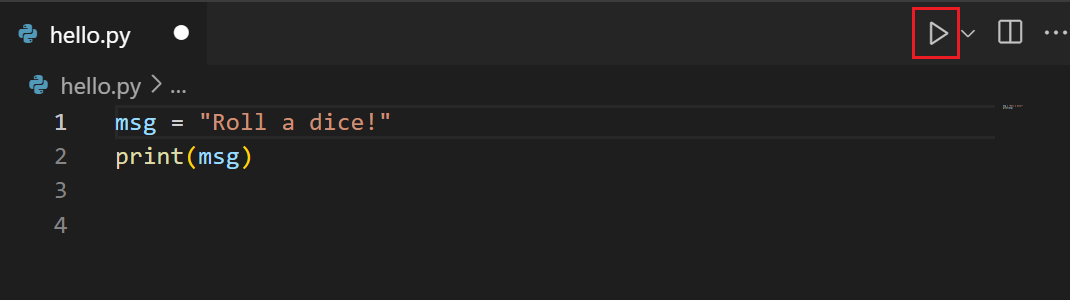
- Click the Run Python File in Terminal play button in the top-right side of the editor, which opens a terminal and runs it with the selected Python interpreter.
-
Right-click anywhere in the editor window and select Run > Python File in Terminal (which saves the file automatically):
-
Select one or more lines, then press Shift+Enter or right-click and select Run Selection/Line in Python Terminal. This command is convenient for testing just a part of a file.
-
From the Command Palette (Ctrl+Shift+P), select the Python: Start REPL command to open a REPL terminal for the currently selected Python interpreter.
Sometimes test files can be overwhelming, this extension can make it easier to look at all of them and supports a variety of test frameworks to use for running tests.

1. Create a new folder called `tests` and a new file `test_hello.py`.
2. Import the functions you've created in the first exercise using `from tutorial.hello import say_hello` and create a new function `test_say_hello` that calls `say_hello`.
3. Open the "Testing" menu by clicking on the vial icon in the Activity bar, click "Configure Python Tests" and choose "pytest". Pick the `tests` folder.
4. Run your test by clicking on the "Run Test" ▷ icon.
5. Add a new `name` input argument to the `say_hello` function. Run your test again. Can you fix the bug?
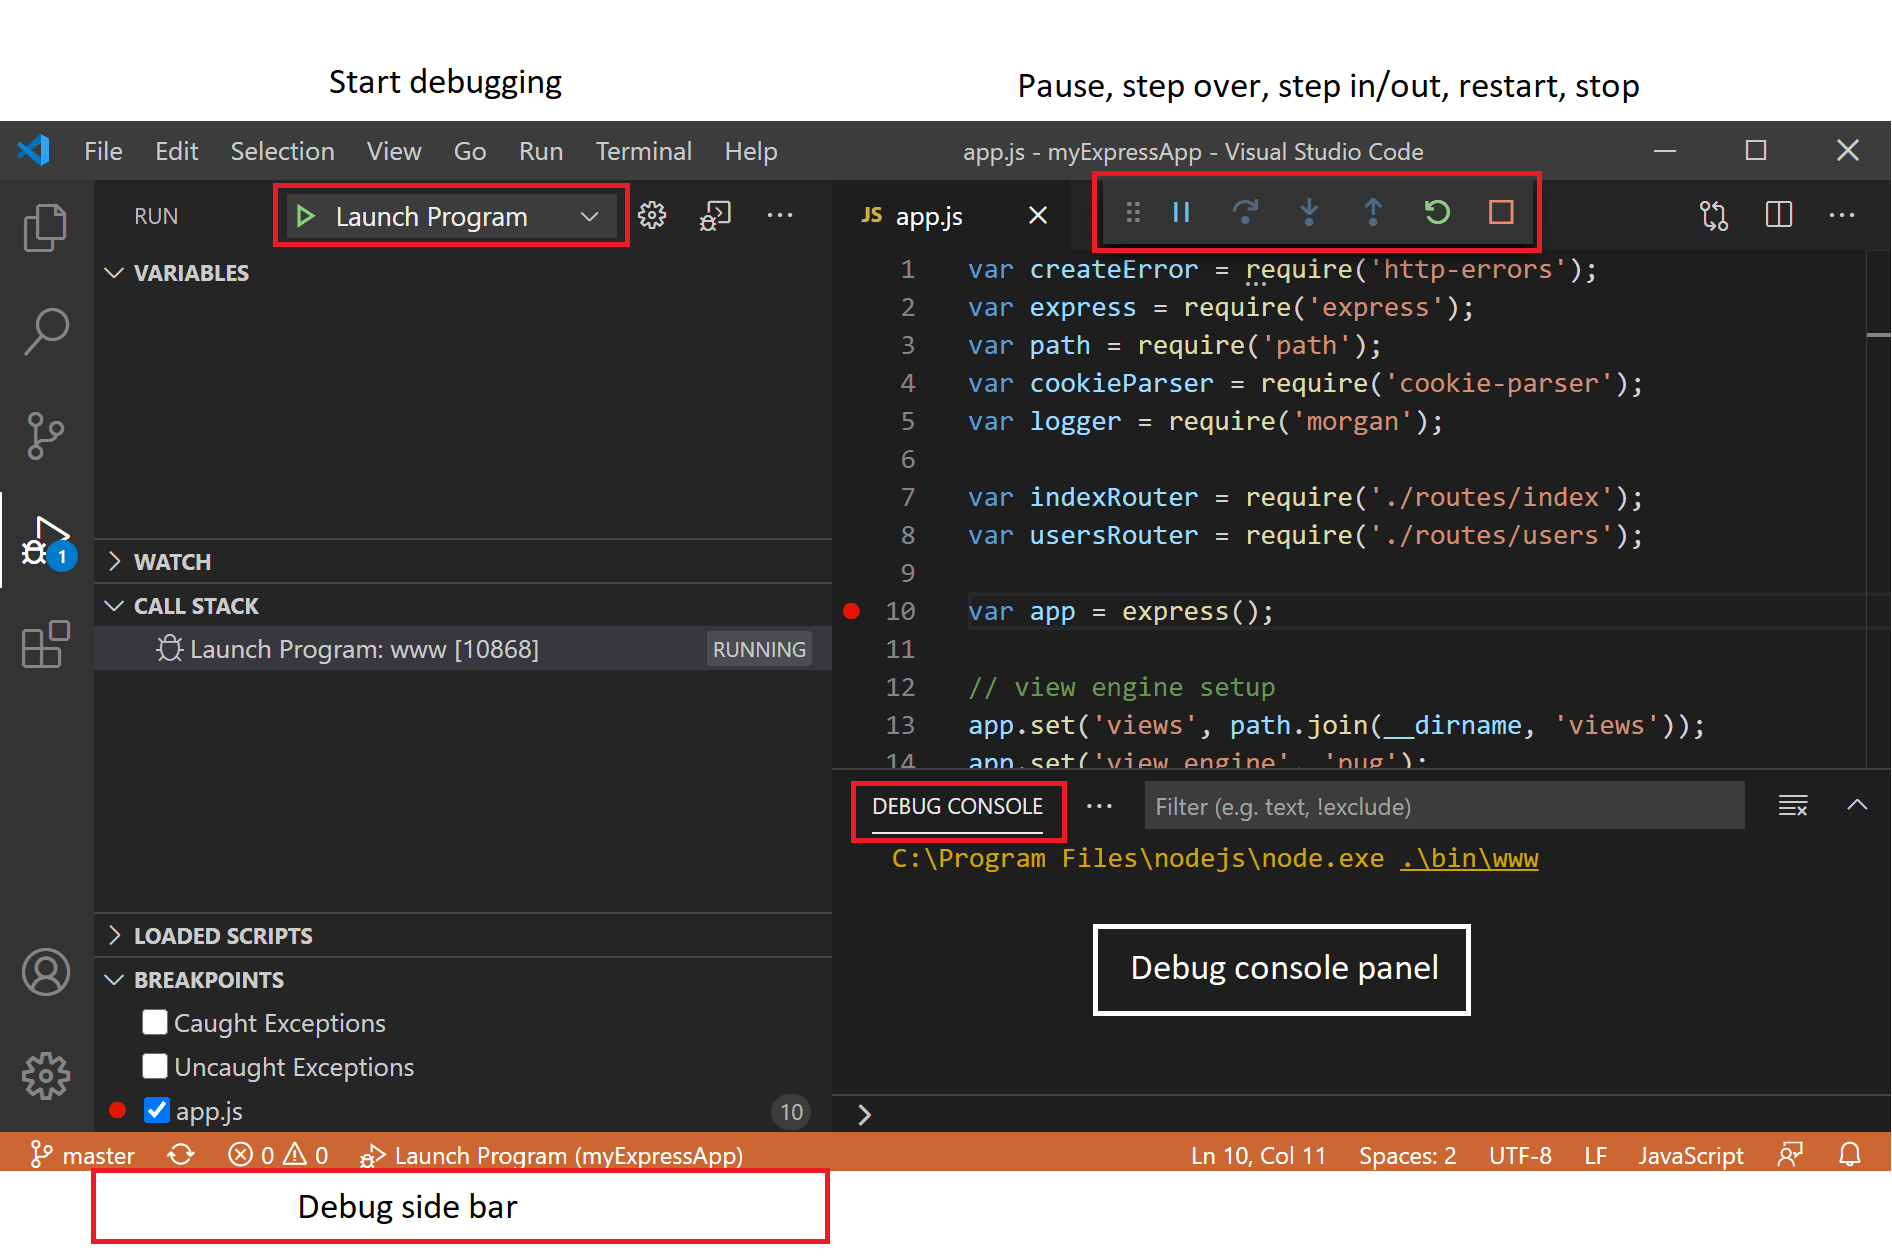
You can start a debug session from the Run + Debug pane on the left. If you don't have a configuration for your code yet, the gear icon can help set some templates up.
You’ve written some code - it’s time to push it upstream. We’ll go over some exercises that let you use the built-in Git tools to interact with the repository we cloned in the previous section.
- checkout,
- branching,
- staging,
- committing, etc.
- diff in-line
- timeline view
- gutter indicators
- 3-way merge editor
- UI for viewing/managing merge conflicts
- Diff viewer
Stay focused and use all the keybindings you are familiar with by catching up on issues and reviewing PRs directly in VS Code.
If you don't want to go digging/copying .gitignore files from your last project, this extension can provide ones for a variety of languages with just a click.
1. Fork the [tutorial repo](https://aka.ms/scipy2023) to your GitHub account
2. Edit the file `yearbook2023.md` and add your favorite VS Code tip you've learned so far. Sign it with your GitHub handle.
3. Create a new branch using the menu `Branch` > `Create branch`, and name it `<your username>/yearbook-2023`.
4. Commit your changes to your new branch and push the changes using `Commit & Push`.
5. Create a PR to the origin repo, either with the GitHub PR extension or via the GitHub web interface so we can review and merge!
`
Don't forget to document your work! Here we'll go over some tools in VS Code and GitHub to level up your docs.
The LaTeX Workshop extension answered the long-standing question: when would LaTeX work be possible in VS Code?
You can use convenient GitHub actions to push Read the Docs or GitHub Pages once test built.
1. Configure the `autoDocstring` extension to use `sphinx` as its Docstring format.
2. Add a docstring to the `say_hello` function you created in an earlier exercise.
3. (Optional) Run `sphinx-quickstart` to set up your Sphinx documentation and follow the steps in this [tutorial](https://github.com/melissawm/minimalsphinx) by @melissawm.
4. (Optional) Install the LaTeX Workshop extension (requires [TeX live](https://www.tug.org/texlive/)). Create a new folder `docs` with file `about.tex`. Start writing a page in [LaTeX](https://www.colorado.edu/aps/sites/default/files/attached-files/latex_primer.pdf) and explore the IntelliSense features.
After writing your code, let’s put it to use. Here we’ll cover some of VS Code’s specialized features for data science, and install some typical extensions that plug into the scientific Python ecosystem.
- Running with keyboard shortcuts
- Customizing UI
- Outline pane
- Variable + Data viewer
- Kernel selection
- Debugging
- Notebook diffs
- Saving + inserting images
Hot of the presses: Data wrangler
A new extension just a few months new that helps with some of that initial data exploration with cool UI which also can capture what manipulations you make and generate the Pandas code needed to reproduce!
1. Create a new Data Science profile.
2. Open the `demo.ipynb` Jupyter Notebook.
3. Run the example cells in the notebook. Try adding a markdown cell and add some text, or add a code cell.
4. Open the example data file `data/bees.csv` using Data Wrangler and explore the dataset (source: [Bee-Gap: Ecology, Life-History, and Distribution of Bee Species in the United States 2017](https://www.sciencebase.gov/catalog/item/5bd868b2e4b0b3fc5ce9dadd)).

Can you figure out which plant species and/or plant family is most loved by all bee species recorded?
Awesome, you made it! Now on to Chapter 3 ⏩